Completion day marks the culmination of your property journey, the pivotal moment when legal ownership officially passes to you. It's the finish line you've been working towards, a day filled with anticipation, paperwork, and the long-awaited handover of keys. However, the sheer volume of tasks, from liaising with solicitors to coordinating with removal companies, can transform this exciting milestone into a source of significant stress. A missed step or a forgotten detail can cause delays and complications, tarnishing what should be a celebratory occasion. This is where a robust completion day checklist becomes an indispensable tool.
This guide is designed to eliminate the chaos and provide a clear, actionable roadmap for a seamless transition. We will cover every critical stage, from the final preparations in the week leading up to the move, to the precise actions required on the day itself. You’ll find detailed guidance on coordinating with your removal team, conducting a thorough inventory of your new property, managing utility transfers, and handling the final exchange of keys and documents.
We've structured this comprehensive checklist to be your ultimate companion, whether you're a first-time buyer in Bristol, managing a commercial relocation in Bath, or simply need to ensure your move is as organised as possible. By breaking down the process into manageable, sequential steps, this article will help you navigate the complexities with confidence. Our goal is to ensure nothing is overlooked, transforming your completion day from a logistical headache into a smooth and successful start in your new home. Let’s dive into the essential tasks that will get you from ‘sold’ to ‘settled’ without a hitch.
1. The Pre-Completion Countdown & Final Walkthrough Inspection
The 24 to 48 hours before completion are arguably the most critical period of your entire move. This isn't a time for passive waiting; it’s your final, non-negotiable opportunity to verify that the property you are about to own is in the exact condition you agreed upon. A meticulous final walkthrough inspection acts as your last line of defence against inheriting unexpected problems, costly repairs, and post-move disputes.

Think of this as the ultimate quality control check. Its purpose is to confirm three key things: that all fixtures and fittings included in the sale (as detailed on the TA10 form) are present and correct, that any repairs the seller contractually agreed to have been completed satisfactorily, and that no new damage has occurred since your last viewing, perhaps during the seller's moving process.
Executing the Perfect Final Walkthrough
To ensure your final check is effective, follow a structured approach. This isn't a quick glance around; it requires focus and attention to detail.
- Timing is Everything: Schedule your walkthrough for the day before completion, ideally during daylight hours for the best visibility. This gives you enough time to report any significant issues to your solicitor without derailing the completion day itself.
- Arm Yourself with Tools: Bring a checklist, your phone for taking date-stamped photos and videos, a torch for inspecting dark corners, and a simple plug-in socket tester.
- Test, Don't Assume: Physically check everything. Turn every light switch on and off. Run both hot and cold taps in the kitchen and bathrooms. Flush every toilet. Open, close, and lock all windows and doors.
- Document Meticulously: Cross-reference what you see against the fixtures and fittings form. If a specific "integrated fridge-freezer" was listed, ensure it hasn't been swapped for a different model. Note any new scuffs, scratches, or damage that wasn't there before. For a thorough pre-completion review, especially during the final walkthrough, consider utilizing a comprehensive property inspection checklist.
- Report Immediately: Do not wait. If you discover a significant discrepancy, such as a missing appliance or a newly broken window, inform your solicitor immediately. They can advise on the best course of action before any funds are transferred.
A well-executed walkthrough is a cornerstone of a smooth completion day checklist, providing peace of mind that the home you're buying is the home you were promised. Integrating this step into your final preparations is crucial; for more tips on organising this period, explore our detailed moving countdown guide.
2. Document Verification and Collection
While the physical property is paramount, the mountain of paperwork that facilitates the transfer of ownership is equally crucial. This stage is about meticulously gathering, organising, and verifying every essential legal and financial document. This isn't just a box-ticking exercise; it's your final opportunity to ensure all paperwork is accurate, complete, and properly executed, safeguarding you against future legal or financial complications.
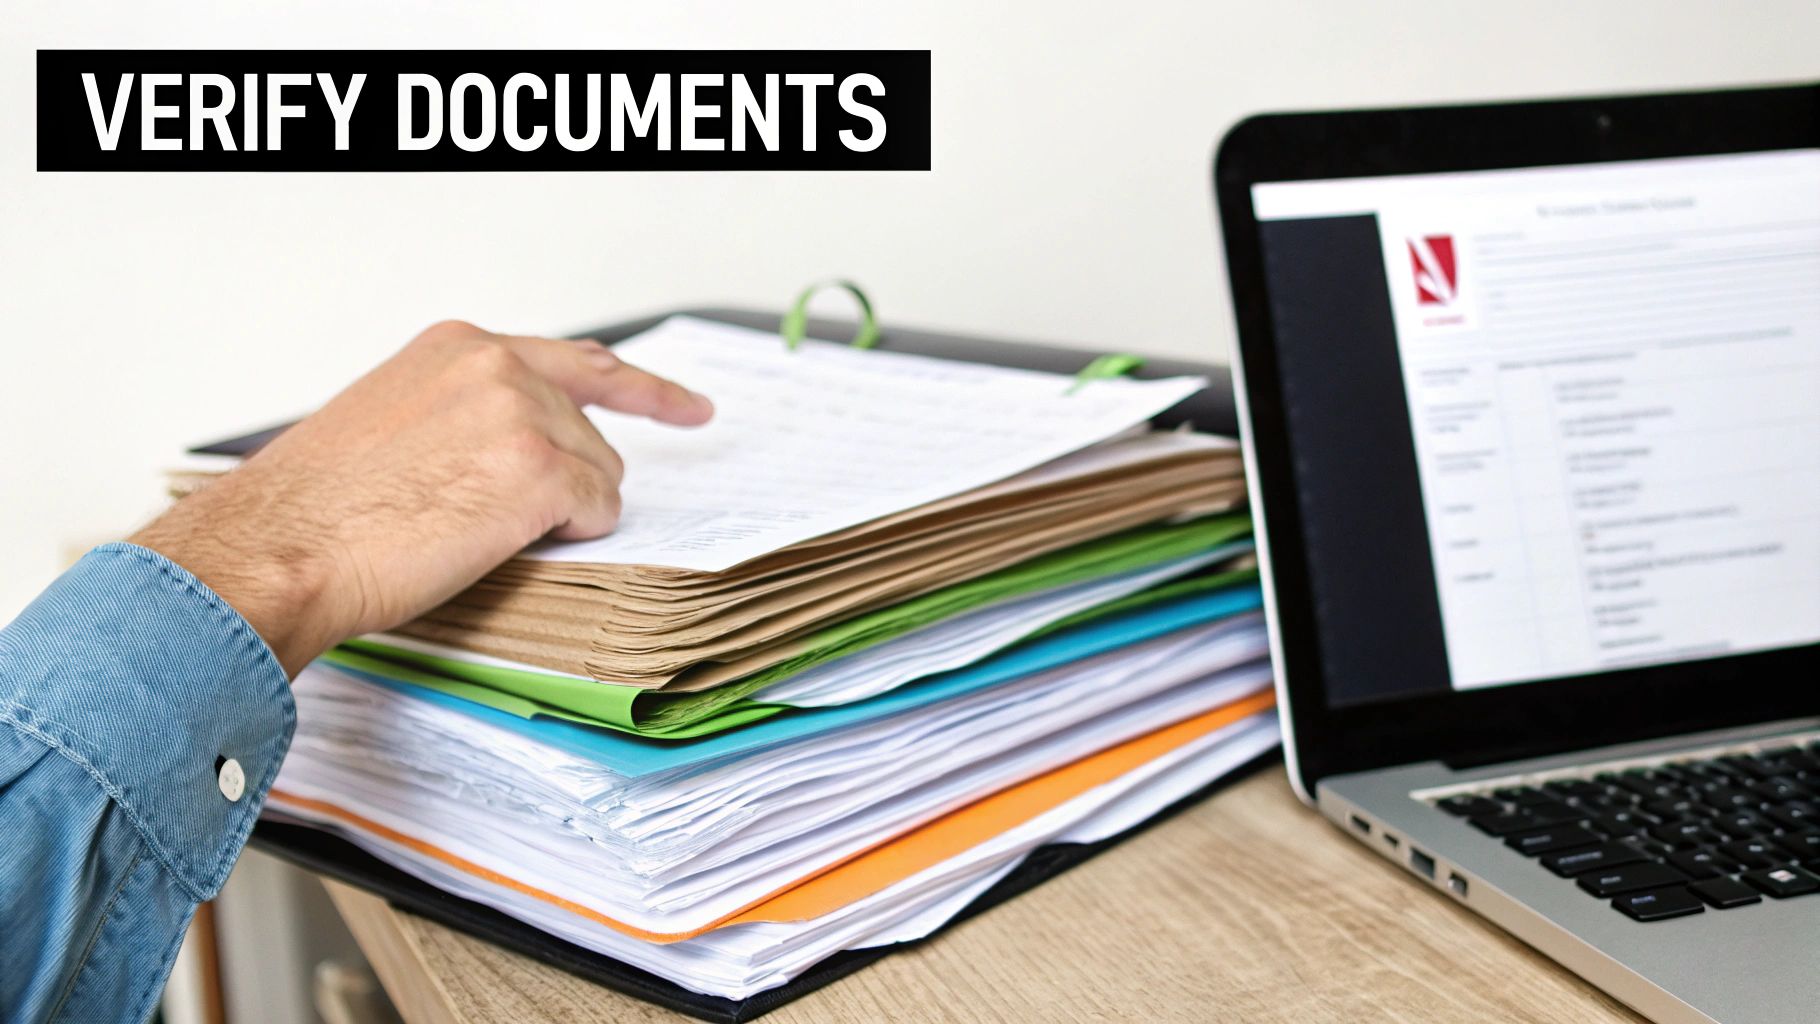
Think of this as the legal and financial foundation of your home ownership. The goal is to confirm that the mortgage offer is correct, the title deeds are in order, and all financial statements align perfectly. An error in a name, a date, or a figure can cause significant delays or even jeopardise the entire transaction, making diligent verification a non-negotiable part of your completion day checklist.
Mastering Your Completion Paperwork
To prevent last-minute panic, approach your document review with a systematic and proactive mindset. A disorganised pile of papers is a recipe for stress; a well-managed file is a source of confidence.
- Request Documents in Advance: Don't wait until the day before completion. Ask your solicitor and mortgage lender to provide all necessary documents, especially the final Completion Information form (TA13) and your mortgage deed, at least 3-5 days beforehand.
- Create an Organised System: Whether you prefer physical ring binders or digital cloud folders, categorise everything meticulously. Create sections for solicitor correspondence, mortgage documents, insurance policies, and property-specific reports.
- Scrutinise the Details: This is where attention to detail pays dividends. Carefully check that all names are spelled correctly, all dates are accurate, and all financial figures on your mortgage documents and final statements match what you were expecting.
- Verify, Don't Assume: Confirm you have hard or digital copies of everything. This includes the final signed contract, the property's title plan, any warranty documents for new builds, and your buildings insurance certificate, which must be active from the exchange date.
- Flag and Query Immediately: If you find any discrepancies or have any questions about a particular clause, raise the issue with your solicitor straight away. It is far easier to amend a document before completion than after the funds have been transferred.
A thorough document audit ensures the legal transfer of your new home is seamless and secure, giving you the certainty that every detail has been correctly handled before you collect the keys.
3. Financial Settlement and Fund Transfer
The moment the funds are transferred is the legal pivot point of completion day, transforming you from a buyer into a homeowner. This isn't just a simple bank transaction; it's a carefully orchestrated sequence involving your solicitor, the seller's solicitor, and your mortgage lender. Understanding this financial flow is crucial for a stress-free completion day checklist, ensuring there are no last-minute hitches that could delay you getting the keys.
This process involves the finalisation of all monetary transactions. Your solicitor will have already requested your mortgage funds from the lender and collected your deposit and other fees. On completion day, they will collate these funds and transfer the total purchase amount to the seller's solicitor via the CHAPS (Clearing House Automated Payment System) banking system. Once the seller's side confirms receipt, the transaction is legally complete.
Ensuring a Seamless Financial Transfer
While your solicitor manages the heavy lifting, your vigilance is key to preventing delays. A proactive approach to the financial side of your move can make all the difference.
- Final Statement Review: Your solicitor will provide a final completion statement a few days before the big day. Review this document line-by-line. It details all incoming funds (your deposit, mortgage loan) and outgoing costs (stamp duty, legal fees, the property price). Query any figure you don't understand immediately.
- Verify Transfer Instructions Verbally: In an age of sophisticated email scams, never transfer funds based solely on emailed instructions. Always call your solicitor's office using a known, trusted phone number (from their website or initial letters, not the email itself) to verbally confirm their bank account details before sending any money.
- Understand the Timeline: CHAPS transfers are same-day but not instantaneous. Funds usually leave your solicitor's account in the morning, but the entire chain can take several hours to complete. Patience is vital; don't expect to get the keys at 9:01 AM.
- Keep Funds Cleared and Ready: Ensure any personal funds you need for completion are in a readily accessible, cleared bank account well in advance. Transferring money between certain savings accounts can take a few days, a delay you cannot afford at this stage.
Proactive financial preparation is a non-negotiable part of your completion day checklist. By verifying all details and communicating clearly with your solicitor, you ensure the most critical step of the day proceeds without a costly or stressful delay.
4. Keys and Access Transfer
The moment the funds are transferred and completion is confirmed is exhilarating, but it culminates in one tangible act: the formal handover of keys. This step signifies the official transfer of possession, granting you full and exclusive access to your new property. It’s more than just receiving a front door key; it's a comprehensive transfer of all access systems, ensuring you have complete control and security from the very first minute you own the home.
This process involves collecting all relevant keys, fobs, remotes, and codes from the estate agent or seller. For a standard house, this might include front and back door keys, window lock keys, garage door remotes, and keys for any sheds or outbuildings. In a modern flat or commercial building, this could extend to entry fobs, communal door codes, and mailbox keys. Neglecting this crucial step on your completion day checklist can lead to immediate security risks and future access problems.
Ensuring a Secure and Complete Handover
A disorganised key transfer can be a security nightmare. The goal is to receive every single key and immediately neutralise any risks from lost or unreturned copies. A systematic approach is non-negotiable.
- Create an Inventory: Before completion day, ask the seller's solicitor for a list of all keys, remotes, and codes that will be handed over. This creates a clear inventory to check against when you collect them.
- Test Everything Immediately: Don't just take the keys and leave. As soon as you arrive at the property, test every single key in its corresponding lock. Check that fobs work and remotes operate the garage doors.
- Prioritise Rekeying: For ultimate peace of mind, arrange for a locksmith to rekey or change the main locks on your completion day or the day after. You can never be certain how many copies of the old keys exist.
- Reset Digital Access: If the property has smart locks, a security alarm, or an electric gate, change all access codes and passwords immediately. Revoke any digital access previously granted to others.
- Document the Handover: Note the exact time you take possession of the keys. This is important for insurance purposes and marks the point at which you become responsible for the property's security.
Properly managing the key transfer is a fundamental part of a successful move. For a more detailed breakdown of tasks to manage on moving day, you can refer to our comprehensive free moving checklist.
5. Utility Account Transfer and Setup
Failing to properly manage the transfer of utilities is one of the most common, and avoidable, sources of stress on completion day. This crucial step involves arranging for all essential services like gas, electricity, water, and broadband to be switched into your name from the moment you legally own the property. It’s not just about convenience; it’s about establishing clear financial responsibility and ensuring you aren't left in the dark or without hot water on your first night.
The goal is a seamless handover, preventing any service interruption and ensuring you only pay for what you use. This involves coordinating with multiple providers, providing them with your details and the completion date, and taking final meter readings. A well-managed utility transfer is a cornerstone of a smooth move, marking a clean break from the previous owner's accounts and a fresh start for yours.
Ensuring a Smooth Service Handover
Proactive communication and meticulous record-keeping are your best tools for a hassle-free utility setup. A disorganised approach can lead to billing errors, service delays, and unnecessary headaches.
- Act Well in Advance: Do not leave this until the last minute. Contact all relevant utility providers (gas, electricity, water, council tax, broadband) at least two to three weeks before your completion date. This gives them ample time to schedule the transfer.
- Gather Your Information: You will need your new address, the completion date, and your personal and payment details. Ask the estate agent or seller for the names of the current suppliers to make the process smoother.
- Take Meter Readings: On completion day, one of the very first things you should do upon entering the property is locate the gas, electricity, and water meters. Take clear, date-stamped photographs of the readings. This is your definitive proof of the starting point for your bills.
- Confirm Account Creation: After providing the meter readings to your new suppliers, double-check that your accounts have been successfully created and that the seller's accounts have been closed. Request confirmation via email for your records.
- Plan Your Broadband: Internet installation can often have the longest lead time. If you work from home or rely heavily on internet access, book your installation date as early as possible to minimise downtime. For a more detailed breakdown of when to action these tasks, our comprehensive moving house checklist can provide an essential timeline.
Handling utilities correctly is a non-negotiable part of any completion day checklist. It ensures your new house feels like a home from the moment you step through the door.
6. Title Insurance and Lien Clearance Verification
Beyond the physical bricks and mortar, ensuring the legal integrity of your property purchase is paramount. This is where title insurance and lien clearance verification become a non-negotiable part of your completion day checklist. This crucial step guarantees that you are receiving a "clear title," meaning the property is legally yours, free from any outstanding debts or claims from previous owners that could jeopardise your ownership in the future.
Think of it as a historical background check on the property itself. Your conveyancer and the title insurance company investigate the property's history to uncover any potential issues, such as outstanding mortgages, unpaid contractor bills (liens), or boundary disputes. The final title insurance policy then protects you, the new owner, from financial loss due to these undiscovered defects in the title, providing a legal safety net for your investment.
Securing Your Legal Ownership
While your conveyancer handles the technical aspects, staying informed and proactive is key to a smooth process. Understanding these verification steps ensures there are no last-minute legal hitches that could delay or derail your completion.
- Review the Title Commitment: Weeks before completion, your conveyancer will receive a "title commitment" or "report on title." Review this document carefully with them. It will list any "exceptions" or issues found, which must be resolved before the final policy is issued.
- Confirm Lien Satisfaction: The most common issues are outstanding mortgages or charges against the property. Your conveyancer's primary job on completion day is to ensure the seller's mortgage is paid off with the purchase funds, and any other liens are satisfied, so they can be removed from the property record.
- Distinguish Between Policies: You will typically be involved with two policies: a lender's policy (which protects their loan) and an owner's policy (which protects your equity). Ensure an owner's policy is in place for your own protection; it's a one-off payment that provides coverage for as long as you own the property.
- Document Everything: After completion, ensure you receive a copy of your final owner's title insurance policy. This is a vital legal document that should be stored securely with other important property records like the deeds and TR1 form.
- Enhance Physical Security: Once legal ownership is secure, turn your attention to the physical security of your new asset. To further safeguard your new property, especially in a new area, consider reviewing the best security cameras for home to deter potential threats from day one.
Verifying clear title isn't just a formality; it's the legal cornerstone of your home purchase, providing the ultimate peace of mind that the home you've bought is truly and undisputedly yours.
7. Homeowners Insurance and Property Coverage Confirmation
One of the most crucial yet easily overlooked items on a completion day checklist is ensuring your property is insured from the very second it legally becomes yours. Arranging homeowners insurance is not just a formality; it is a fundamental requirement from your mortgage lender and an essential safety net protecting your most significant financial asset. It is your responsibility to have a valid buildings insurance policy active from the date of exchange, not completion, as this is when you become legally bound to purchase the property.
Think of it this way: from the moment contracts are exchanged, the risk associated with the property transfers to you, the buyer. If a disaster such as a fire or flood were to occur between exchange and completion, you would still be obligated to buy the now-damaged property. Your solicitor will not allow you to exchange contracts without proof of an active buildings insurance policy.
Securing Your Peace of Mind with the Right Policy
Navigating insurance can feel complex, but a methodical approach ensures you are fully protected without overpaying. The goal is to secure a policy that satisfies your lender and, more importantly, provides adequate coverage for your needs.
- Start Early: Do not leave this to the last minute. Begin gathering quotes as soon as you have a mortgage offer. This gives you ample time to compare policies and avoid making a rushed decision.
- Proof of Policy (Cover Note): Your solicitor will need proof that insurance is in place before they can proceed with the exchange of contracts. You must provide them with a "cover note" or policy schedule from your insurer.
- Check the Details: Ensure the policy's effective date aligns with the exchange date. The lender's name must be correctly listed as an interested party on the policy, often referred to as the "mortgagee clause".
- Get the Right Amount: Your cover should be for the property's rebuild cost, not its market value. Your mortgage valuation or survey report will typically state this figure. Underinsuring could be catastrophic in a worst-case scenario. For added protection, especially for valuable contents and specialist items, you may want to consult experts on insuring your move; our guide on how removals insurance works offers valuable insights.
- Don't Forget Contents: While buildings insurance is the lender's primary concern, remember to arrange contents insurance to start on your completion day. This will protect your belongings from the moment you move in.
Having your insurance sorted well in advance is a non-negotiable step that underpins the entire transaction, providing critical financial protection and ticking a major box on your solicitor's pre-exchange checklist.
8. Final Closing Meeting and Document Signing
This is the culminating moment of the entire property transaction. The final meeting is the formal, legally binding event where ownership officially transfers from the seller to you. It's the point of no return where all parties convene, all outstanding funds are settled, and the mountain of legal paperwork is reviewed, signed, and executed, finalising your purchase.
Think of this as the grand finale where all the preceding steps on your completion day checklist come together. It's where your solicitor confirms receipt of mortgage funds, you pay any remaining balance of the purchase price and your legal fees, and in return, the seller's solicitor confirms they can release the keys. This meeting solidifies the legal transfer, making the property officially yours.
Navigating the Final Signing with Confidence
Success at this stage is all about preparation and diligence. Rushing through this final, critical step can lead to errors and future complications, so approach it with a calm, methodical mindset.
- Arrive Prepared: Be punctual, arriving 10-15 minutes early to your solicitor's office. You must bring valid photo identification, such as a passport or driving licence, for verification.
- Confirm Your Finances: Ensure your solicitor has confirmed receipt of your mortgage funds from the lender. You should have already transferred your deposit and any outstanding balance via a bank transfer well in advance, as last-minute transfers can cause significant delays.
- Review, Don't Just Sign: While your solicitor will guide you, take a moment to look over key documents like the final transfer deed (TR1 form). Do not feel pressured to sign anything you don't understand; ask your solicitor to clarify any clauses or figures. Verify that all names, addresses, and financial details are perfectly accurate.
- Understand the Final Steps: Before leaving, confirm with your solicitor what happens next. Ask when the transaction will be registered with the Land Registry and when you will receive a copy of the updated title deeds. Most importantly, get confirmation that the seller's solicitor has been instructed to release the keys to the estate agent.
- Keep Your Copies: You will be given copies of the key documents you've signed. Keep these in a safe, designated place with your other important property records. This documentation is your official proof of ownership.
This final meeting is the last administrative hurdle. Successfully navigating it is the key that unlocks the door to your new home, making it a pivotal and non-negotiable part of any comprehensive completion day checklist.
Completion Day: 8-Point Checklist Comparison
| Item | Implementation Complexity 🔄 | Resources & Speed ⚡ | Expected Outcomes 📊⭐ | Ideal Use Cases 💡 | Key Advantages ⭐ |
|---|---|---|---|---|---|
| Final Walkthrough Inspection | Moderate–High — hands‑on systematic checks 🔄 | Moderate time, basic tools (flashlight, tester, camera) ⚡ | High impact: identifies defects before closing — ⭐⭐⭐⭐ | Home closings, new construction, tenant acceptance | Finds issues pre‑closing; documentary evidence; enables corrections |
| Document Verification and Collection | High — detailed legal/financial review 🔄 | High effort; attorney/title officer often needed; many documents ⚡ | Very high: prevents legal/financial disputes — ⭐⭐⭐⭐⭐ | Mortgage closings, business acquisitions, complex transactions | Prevents legal complications; ensures accuracy of obligations |
| Financial Settlement and Fund Transfer | Moderate–High — coordination of payments and escrow 🔄 | High security needs; bank/escrow, verified wire transfers; time‑sensitive ⚡ | High: ensures correct payment distribution and audit trail — ⭐⭐⭐⭐ | Real estate closings, business settlements, refinances | Secures funds, reduces fraud risk, creates auditable records |
| Keys and Access Transfer | Low–Moderate — physical and electronic handover 🔄 | Low effort; keys, rekeying or programming may be needed; quick ⚡ | High for security/possession: immediate control — ⭐⭐⭐ | Move‑ins, lease commencements, property turnovers | Immediate access; clarifies possession; improves security |
| Utility Account Transfer and Setup | Moderate — scheduling and provider coordination 🔄 | Moderate time across multiple providers; possible installation waits ⚡ | Moderate: prevents service interruptions and billing issues — ⭐⭐⭐ | Move‑in day preparations for residential/commercial properties | Ensures continuous service; clarifies billing responsibility |
| Title Insurance and Lien Clearance Verification | High — legal searches and lien resolution 🔄 | High resources: title company, search fees, possible legal costs ⚡ | Very high: protects against future title claims — ⭐⭐⭐⭐⭐ | Purchases with complex histories, foreclosures, multi‑lien properties | Legal protection vs. title defects; lender and owner assurance |
| Homeowners Insurance and Property Coverage Confirmation | Moderate — policy selection and binder coordination 🔄 | Moderate effort; agent/insurer, premium payment and documentation ⚡ | High: financial protection and lender compliance — ⭐⭐⭐⭐ | Mortgaged purchases, high‑risk areas, move‑ins | Covers catastrophic loss, satisfies lender requirements |
| Final Closing Meeting and Document Signing | High — legal execution and notarization of documents 🔄 | High coordination: parties, notary/title, funds; typically 1–3 hours ⚡ | Critical: legal transfer of ownership and immediate fund distribution — ⭐⭐⭐⭐⭐ | All traditional or remote closings, attorney‑supervised settlements | Officially completes transaction; documents notarized and recorded |
You're In! Making Your New House a Home with Confidence
Congratulations! The whirlwind of legalities, finances, and logistics is over. You've navigated one of life's most demanding events, and the keys to your new property are finally in your hand. By diligently working through this comprehensive completion day checklist, you have transformed a potentially chaotic day into a structured, manageable process. The mountain of boxes might seem daunting, but the most complex hurdles are now firmly in your rearview mirror.
This moment is a significant achievement worth celebrating. Pause amidst the cardboard towers, order that well-deserved takeaway, and soak it all in. You have successfully managed everything from the final walkthrough and document verification to the crucial transfer of funds and utility accounts. You've secured your new home, both legally and physically, and laid the groundwork for a smooth transition.
From Checklist to Comfort: The Real Work Begins
The true value of a meticulous completion day checklist isn't just about ticking boxes; it's about buying yourself peace of mind. It allows you to shift your focus from administrative burdens to the exciting task ahead: turning this new space into a genuine home. With the critical tasks handled, your energy can now be channelled into the more personal aspects of moving in.
Remember the key takeaways that guided you through the day:
- Preparation is Paramount: The work you did in the weeks leading up to completion day, from organising documents to confirming appointments, paid dividends. This proactive approach prevented last-minute panic and ensured a smoother handover.
- Communication is Crucial: Staying in close contact with your solicitor, estate agent, and removal company created a network of support that could quickly resolve any unforeseen issues. Clear, consistent communication is the bedrock of a successful move.
- Attention to Detail Matters: From checking meter readings to confirming that all agreed-upon fixtures and fittings were left behind, your thoroughness protects you from future costs and complications. It’s the small details that make the biggest difference.
Actionable Next Steps: Settling In Seamlessly
While completion day is a major milestone, the journey isn't quite over. The next 48-72 hours are pivotal for establishing comfort and security. Your immediate priorities should be systematically unpacking essentials, beginning with the kitchen and bedrooms. This creates functional zones that make the rest of the process feel less overwhelming.
Now is also the time to address any lingering practicalities. If you uncovered any issues during your final checks, report them immediately. Begin the process of changing your address with all relevant parties, from your bank to online subscription services. And as you unpack, start creating a system for waste and recycling. Many local councils in the Bristol and Bath area have specific requirements, so familiarising yourself with them early will make life easier.
Key Insight: Moving home isn't just a single-day event; it's a multi-stage process. By seeing your completion day checklist as the bridge between the 'buying' phase and the 'living' phase, you can maintain momentum and settle in more quickly and efficiently.
This meticulous approach ensures that your new chapter starts on the best possible footing. You haven't just bought a property; you have orchestrated a complex project with precision. Welcome home.
Still navigating the aftermath of your move? Whether you need professional help assembling flat-pack furniture, require a final rubbish clearance, or need secure storage for items you’re not ready to unpack, SimplyPro Removal & Storage Ltd is here to help. Our Bristol and Bath-based teams specialise in post-completion services that make settling in completely stress-free. Visit SimplyPro Removal & Storage Ltd to see how we can help you finalise your move with ease.