Moving out can be a stressful time, with your security deposit hanging in the balance. Landlords and letting agencies in the UK have stringent standards, and 'wear and tear' doesn't cover accumulated grime or overlooked dust. A small oversight in cleaning can lead to significant deductions from your deposit, turning what seems like a simple task into a costly mistake. This is where a methodical, professional-grade cleaning plan becomes your most valuable asset in securing that full return.
Our definitive end of tenancy cleaning checklist for 2025 is designed to guide you through every nook and cranny, ensuring you meet and exceed your landlord's expectations. We will break down the entire process room by room, providing expert tips, realistic time estimates, and the secret strategies that professional cleaners use to guarantee a property is returned to its original state. For those weighing their options, understanding the scope of what is involved is critical; for a truly comprehensive and stress-free clean, consider consulting a guide to professional move out cleaning services to see how the experts handle it.
This comprehensive guide will transform your move-out clean from a daunting chore into a guaranteed success. From degreasing the oven and sanitising the bathroom to polishing the skirting boards and cleaning light fixtures, every detail is covered. We provide actionable steps to ensure you leave the property in impeccable condition, leaving no reason for your landlord or agent to withhold your funds. Let's get started on securing every penny of your deposit.
1. Kitchen Deep Clean
The kitchen is often the centrepiece of a property and, as such, receives the most scrutiny during an end-of-tenancy inspection. A comprehensive kitchen deep clean goes far beyond a simple wipe-down; it involves a meticulous, top-to-bottom sanitisation of every surface, appliance, and crevice to restore it to its original condition. This process is crucial for securing your full deposit, as kitchens are notorious for accumulating grease, grime, and food residue that landlords will check for carefully.
Why It's a Non-Negotiable Task
Property management companies and landlords place a high premium on kitchen cleanliness. In fact, many professional end-of-tenancy cleaning services, like those offered by UK specialists, allocate a significant portion of their time, sometimes up to eight hours, solely to the kitchen. This focus highlights its importance in the final property assessment. A sparkling kitchen signals to the landlord that the property has been well-maintained, significantly improving your chances of a smooth checkout process.
Actionable Kitchen Cleaning Checklist
To ensure every corner is addressed, follow this detailed breakdown:
- Appliances First: Tackle the oven by removing all racks and trays. Soak them in a solution of hot water and a powerful degreaser. For the oven interior, use a specialised oven cleaner, following the instructions carefully. For the microwave, use the steam method: heat a bowl of water with lemon slices for a few minutes to loosen grime, then wipe clean.
- Cupboards and Drawers: Empty all cupboards and drawers. Hoover out any crumbs and debris before wiping them down inside and out with a suitable sanitising spray. Pay special attention to handles and areas around them where grease builds up.
- Surfaces and Splashbacks: Degrease all worktops, tiles, and splashbacks. For stubborn grout stains, use a dedicated grout cleaner and a stiff brush to scrub away discolouration.
- Sink and Taps: Descale the sink and taps using a limescale remover. Polish the chrome fixtures until they shine, and ensure the plughole is clear of any food debris.
- Finishing Touches: Finally, clean and polish the exterior of all appliances, including the fridge, dishwasher, and washing machine. Don't forget to wipe down skirting boards and light switches before thoroughly mopping the floor.
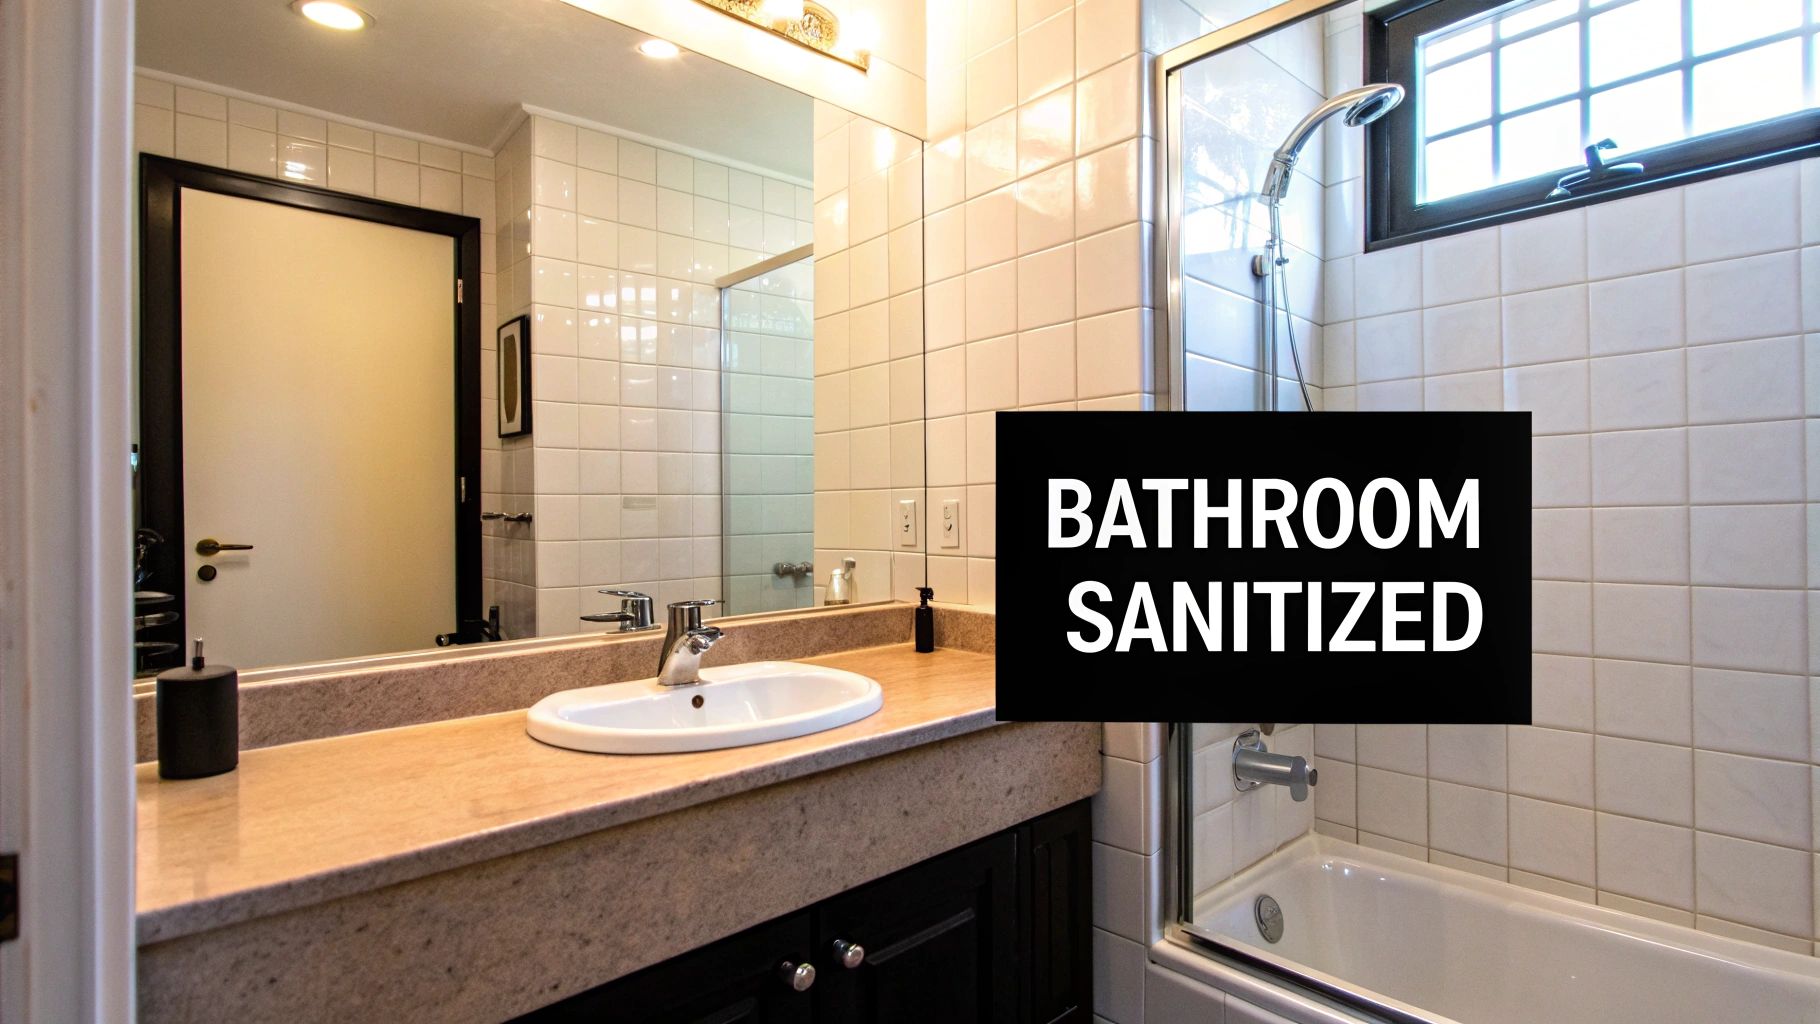
2. Bathroom Sanitization and Grout Cleaning
Alongside the kitchen, the bathroom is a primary area of focus during an end-of-tenancy inspection due to its potential for limescale build-up, mould, and mildew. A thorough bathroom sanitisation involves more than just wiping surfaces; it requires a detailed cleaning of every fixture, tile, and grout line to eradicate bacteria and restore the room’s sparkle. This meticulous process is essential for meeting the high standards of landlords and letting agents, who view bathroom hygiene as a key indicator of a well-kept property.
Why It's a Non-Negotiable Task
Property standards are particularly strict when it comes to bathrooms. For example, many London letting agencies will immediately fail an inspection if there are any signs of visible mould or mildew. A pristine bathroom not only meets contractual obligations but also prevents deposit deductions for professional cleaning or repairs. Because bathrooms are high-moisture environments, they are prone to issues that require specific cleaning techniques, making this a critical part of your end of tenancy cleaning checklist.
Actionable Bathroom Cleaning Checklist
To achieve a professional-standard clean, follow this detailed approach:
- Tiles and Grout: Start by applying a dedicated mould and mildew remover to affected areas, especially on grout and silicone seals. For general grout cleaning, use a grout cleaner and allow it to sit for 10-15 minutes before scrubbing with a stiff brush or an old toothbrush for hard-to-reach corners.
- Fixtures and Fittings: Descale the shower head, taps, and plugholes using a limescale remover. For a deep clean, you can unscrew the shower head and soak it in a solution of white vinegar and water. Polish all chrome fixtures until they are streak-free and gleaming.
- Shower and Bath: Scrub the bath, shower screen, and tray thoroughly. Pay close attention to soap scum build-up on glass screens; a mixture of white vinegar and washing-up liquid can be very effective. Ensure the drain is clear of hair and debris.
- Toilet and Sink: Clean and disinfect the toilet from top to bottom, including the bowl, seat, lid, cistern, and the base. Clean the sink and pedestal, ensuring the plughole is clear and the taps are polished.
- Finishing Touches: Finally, clean mirrors, windows, and any cabinets or shelves. Wipe down the light pulls, skirting boards, and door. Mop the floor thoroughly, starting from the furthest corner and working your way out. For those in the Bristol area requiring a guaranteed pass, explore our professional end of tenancy cleaning services.
3. Window and Glass Cleaning
Crystal-clear windows and mirrors can dramatically brighten a property, making it feel cleaner and more spacious. This task is a critical part of any end of tenancy cleaning checklist because windows are one of the first things letting agents and landlords notice during an inspection. Streaks, smudges, and dust on glass surfaces suggest a lack of thoroughness and can lead to deductions from your security deposit.

Why It's a Non-Negotiable Task
Dirty windows not only block natural light but also trap dirt, allergens, and pollutants, which can be a major concern for incoming tenants. Landlords in competitive rental markets, such as those in major UK cities, expect every detail to be perfect, and pristine glass is a clear indicator of a well-maintained property. Professional cleaning companies often dedicate specific teams or techniques to achieve a professional, streak-free finish, underscoring the high standards required for a successful checkout.
Actionable Window and Glass Cleaning Checklist
To ensure every glass surface is immaculate, follow this detailed approach:
- Gather Your Supplies: You will need two high-quality microfibre cloths (one for washing, one for polishing), a squeegee, a bucket of warm water, and a cleaning solution. A simple mix of white vinegar and distilled water is highly effective.
- Prepare the Area: Before you start, dust the window frames, sills, and tracks to prevent dirt from turning into a muddy mess when you add water. Place an old towel on the floor or sill to catch any drips.
- Clean Systematically: Always work from the top down to avoid drips on already cleaned areas. Apply your cleaning solution, then use a squeegee in a smooth, overlapping pattern for larger panes. For a truly flawless finish, you can consult professional tips for streak-free windows to ensure every pane sparkles.
- Don't Forget the Details: Use your damp microfibre cloth to wipe down window frames, sills, and handles. For mirrors and other glass surfaces like shower screens, spray your solution directly onto the cloth rather than the surface to prevent drips.
- Final Polish: Use a second, dry microfibre cloth to buff away any remaining streaks or watermarks, leaving a perfectly clear and polished surface. Check the glass from different angles to ensure no spots were missed.
4. Carpet and Flooring Cleaning
Flooring bears the brunt of daily life, and its condition is a major factor in end-of-tenancy inspections. From ingrained dirt in carpets to scuffs on hard floors, restoring these surfaces to their original state is essential. This task goes beyond a quick vacuum or mop; it often requires deep cleaning methods to remove stains, dirt, and lingering odours that could jeopardise your deposit.

Why It's a Non-Negotiable Task
Many tenancy agreements now explicitly state that carpets must be professionally cleaned upon vacating the property. The UK's Tenancy Deposit Scheme (TDS) frequently cites disputes over soiled carpets as a common reason for deposit deductions. Landlords and letting agents are well-versed in spotting the difference between a domestic clean and a professional one. Providing a receipt from a reputable cleaning company can serve as powerful evidence that you have fulfilled your contractual obligations, preventing potential disputes.
Actionable Carpet and Flooring Checklist
To tackle flooring effectively, tailor your approach to each surface type:
- Professional Carpet Cleaning: For carpets, it is highly recommended to hire professionals, especially if your tenancy agreement requires it. Look for cleaners certified by organisations like the Institute of Inspection, Cleaning and Restoration Certification (IICRC) to ensure a high standard of work.
- Pre-Treatment and Preparation: Before the professionals arrive, thoroughly vacuum all carpeted areas. For any visible stains, try to pre-treat them at least 24 hours in advance using a suitable spot cleaner, but always test the solution on an inconspicuous area first.
- Hardwood and Laminate Floors: For wood or laminate, sweep or vacuum to remove loose debris before mopping. Use a pH-neutral cleaner specifically designed for the material to avoid causing damage or leaving a residue. A microfibre mop works best for a streak-free finish.
- Tiled Floors: Scrub tiled floors with an appropriate floor cleaner, paying special attention to the grout lines. A stiff-bristled brush and a dedicated grout cleaner can restore discoloured grout to its original shade.
- Final Documentation: Once professionally cleaned, ensure you receive a written certificate or detailed invoice. This document is your proof of completion and can be invaluable if the landlord raises any concerns during the final inspection.
5. Wall and Paintwork Cleaning and Touch-ups
Over time, walls inevitably accumulate scuffs, fingerprints, and minor blemishes that can detract from a property's overall appearance. Cleaning walls and performing careful paint touch-ups are essential steps in an end-of-tenancy cleaning checklist. Landlords will meticulously inspect walls for damage beyond normal wear and tear, and significant marks or unapproved colour changes are common reasons for deposit deductions, making this task critical for a successful checkout.
Why It's a Non-Negotiable Task
The condition of the paintwork is a direct reflection of how well the property has been cared for. In the UK, tenancy agreements typically require the property to be returned in its original state, which includes clean, neutral-coloured walls. Neglecting this can be costly; landlords may charge for a professional decorator to repaint an entire room if marks are too prominent. A thorough clean and tidy touch-up job demonstrates respect for the property and significantly strengthens your position during the final inspection.
Actionable Wall and Paintwork Checklist
To restore your walls to a pristine condition, follow this targeted approach:
- Assess and Clean: Begin by dusting all walls from top to bottom to remove cobwebs and loose dirt. For washable paint, gently wash walls with a soft sponge and a mild solution of sugar soap or washing-up liquid in warm water. Always test on a small, inconspicuous area first.
- Tackle Scuffs and Marks: Use a "magic eraser" sponge to gently buff out scuff marks and stubborn stains. Be careful not to scrub too hard, as this can damage the paint finish. For greasy fingerprints, a simple degreasing spray can be effective.
- Perfect the Touch-up: For any chips or deeper scuffs, a paint touch-up may be necessary. It's vital to use the exact same paint colour and finish. Check your tenancy agreement or contact your landlord for this information. Apply the paint sparingly with a small, fine-tipped artist's brush or a cotton swab for a seamless blend.
- Final Inspection: Once dry, inspect the walls from different angles and in various lighting conditions to ensure the touch-ups are not obvious. Remember to also wipe down skirting boards, door frames, and window sills for a complete finish. For more complex repairs, it may be wise to consult professional handyman services in Bristol.
6. Light Fixtures and Ceiling Cleaning
While most tenants focus on eye-level dirt, landlords and inventory clerks often look up. Dust, cobwebs, and grime on light fixtures, ceilings, and fans are frequently overlooked details that can lead to deductions from your security deposit. A thorough ceiling-level clean demonstrates a comprehensive approach to your end-of-tenancy cleaning checklist, showing that you’ve cared for the property from top to bottom. This task is essential for presenting the property in the best possible light, quite literally.
Why It's a Non-Negotiable Task
Ceiling fixtures are dust magnets and are checked carefully during final inspections. A layer of dust on a light shade or ceiling fan blade is an immediate red flag for an inspector, suggesting other areas may have been neglected. Furthermore, ensuring smoke detectors and air vents are clean is not just about aesthetics; it's a matter of safety and property maintenance. Landlords will insist these are clear and functional, making this a critical step for compliance and securing your full deposit.
Actionable Ceiling and Fixture Cleaning Checklist
To guarantee a spotless finish from the top down, follow this systematic guide:
- Safety First: Before you begin, switch off the electricity at the fuse box. Use a sturdy stepladder on a level surface, and ideally have someone spot you for extra safety. Always wear a dust mask to avoid inhaling airborne particles.
- Dust and Wipe Down: Start by removing any loose dust and cobwebs from ceilings and corners using a long-handled duster or a vacuum with a brush attachment. For light fittings, carefully remove any glass or plastic covers, wash them in warm, soapy water, and dry them completely before reattaching.
- Fixtures and Fans: Use a damp microfibre cloth to wipe down the bodies of light fixtures, ceiling fan blades (both top and bottom), and the exterior of smoke detectors and air vents. Be gentle and avoid getting any moisture into the electrical components.
- Vents and Filters: If accessible, remove the covers from ventilation units. Wash the covers and, if applicable, clean or replace the filter according to the manufacturer’s instructions. This improves air quality and shows diligent upkeep.
- Systematic Approach: Work methodically from one side of the room to the other to ensure no spot is missed. This top-down approach prevents dust from settling on surfaces you've already cleaned.
7. Door and Door Frame Cleaning
Doors and their frames are high-traffic areas that often go unnoticed during regular cleaning but are closely examined in an end-of-tenancy inspection. They accumulate a surprising amount of dust, fingerprints, scuffs, and grime over time. A thorough clean of every door, handle, and frame is a simple yet high-impact task that contributes significantly to the overall impression of a well-maintained property. This detail-oriented cleaning is essential for a complete end of tenancy cleaning checklist.
Why It's a Non-Negotiable Task
The state of your doors, especially the front door, sets the immediate tone for the final walkthrough. A clean, polished front door creates a positive first impression, while smudged and dusty interior doors can suggest neglect. Letting agents and landlords look for these signs of wear and tear, and clean doors demonstrate a commitment to returning the property in its original state, strengthening your case for a full deposit return.
Actionable Door Cleaning Checklist
To restore every door to a pristine condition, follow this methodical approach:
- Dust From the Top Down: Begin by dusting the tops of all door frames using a long-handled duster or the brush attachment on your hoover. Work your way down, wiping the entire frame and the door surface with a damp microfibre cloth.
- Tackle Scuffs and Marks: For stubborn scuffs on painted doors, a magic eraser or a small amount of bicarbonate of soda paste can be very effective. Use a gentle, circular motion to lift the marks without damaging the paint.
- Clean and Polish Hardware: Use a suitable cleaner for the door handles, hinges, and any letterboxes or knockers. A multi-surface polish applied with a clean, dry cloth will make metal fixtures shine, giving the door a freshly finished look.
- Focus on High-Contact Areas: Pay extra attention to the areas around door handles and the door edges where fingerprints and dirt are most concentrated. Use a gentle degreasing spray if necessary to break down built-up grime.
- Don't Forget the Details: Wipe down the door jambs and thresholds, as these areas often collect dust and dirt. For glass-panelled doors, use a quality glass cleaner to ensure they are streak-free.
8. Appliance Deep Clean and Removal of Built-up Residue
Beyond the oven, which often gets its own spotlight, other household appliances demand just as much attention during a move-out clean. Landlords will meticulously inspect washing machines, dishwashers, microwaves, and dryers for signs of neglect. A thorough appliance deep clean involves eradicating built-up residue, grease, limescale, and lint, ensuring they are not just visually clean but functionally pristine for the next tenant. This step is a cornerstone of a comprehensive end of tenancy cleaning checklist.
Why It's a Non-Negotiable Task
Neglected appliances are a major source of deposit deductions. UK tenancy agreements frequently include clauses specifying that appliances must be left in the same clean and working condition they were in at the start of the tenancy, fair wear and tear excepted. Built-up grime, mould in rubber seals, and clogged filters can be interpreted as poor maintenance, giving landlords a clear reason to withhold funds for professional cleaning or repairs. A spotless appliance signals responsible tenancy and helps secure a positive final inspection report.
Actionable Appliance Cleaning Checklist
To guarantee each appliance passes inspection, follow this detailed guide:
- Washing Machine & Dryer: For the washing machine, clean the detergent drawer thoroughly and run an empty, hot cycle with a dedicated machine cleaner or white vinegar to eliminate bacteria and odours. Wipe the rubber seal inside and out, paying close attention to mould. For the dryer, empty the lint filter and hoover the filter housing and vent pipe to prevent fire hazards.
- Dishwasher: Remove and clean the filter at the bottom of the machine, as this is where food debris accumulates. Use a dishwasher cleaner on a hot cycle to descale the interior and clear the spray arms. Wipe down the door seals and edges.
- Microwave: Use the steam method to loosen caked-on food. Heat a bowl of water with lemon slices for several minutes, let it stand, and then wipe the interior clean. Don't forget to wash the turntable plate separately.
- Finishing Touches: Pull appliances out from the wall where possible to clean behind and underneath them, as this is a common spot for dust and lost items. Wipe down the exterior of all machines, polishing any chrome or stainless steel surfaces until they shine.
9. Baseboards and Trim Cleaning
Often overlooked during a regular clean, baseboards (or skirting boards), door frames, and window sills are finishing details that can make or break an end-of-tenancy inspection. These areas are magnets for dust, scuffs, and grime, and leaving them unattended gives an immediate impression of a job half-done. A thorough clean of all trim work lifts the entire appearance of a room, creating sharp, clean lines that inspectors notice. This attention to detail is a key part of any comprehensive end of tenancy cleaning checklist.
Why It's a Non-Negotiable Task
Landlords and letting agents are trained to look at the details, and dirty skirting boards are an easy red flag. Because they frame every room, their condition significantly impacts the property's overall perceived cleanliness. Professional cleaning companies understand this, which is why property inspection checklists explicitly mention baseboards and trim. Ensuring these are spotless demonstrates a high level of care for the property, strengthening your position for a full deposit return.
Actionable Baseboard and Trim Cleaning Checklist
To restore these details to pristine condition, follow this systematic approach:
- Preparation is Key: Begin by vacuuming all skirting boards and trim using a brush attachment. This removes loose dust and debris, preventing you from simply smearing dirt around when you start wiping.
- Wipe Down: Mix a simple solution of warm water and a small amount of mild detergent. Use a damp, but not dripping, microfibre cloth to wipe down all surfaces. For stubborn scuffs and marks, a magic eraser can be highly effective, but use it gently to avoid damaging the paintwork.
- Systematic Approach: Work your way around each room methodically, starting at one point and finishing there. Pay extra attention to corners where dust webs accumulate and high-traffic areas like hallways and doorways, which are prone to more scuffs.
- Finishing Touches: After wiping, use a dry, clean microfibre cloth to buff the surfaces and remove any streaks. For any small chips or persistent scuffs on painted wood, a quick touch-up with a matching paint pen can make a world of difference.
10. Outdoor and Entrance Area Cleaning
The entrance and any outdoor spaces are the first things a landlord or letting agent will see, setting the tone for the entire end-of-tenancy inspection. A clean and tidy exterior creates a powerful first impression, suggesting the rest of the property has been maintained with the same level of care. This step involves cleaning everything from the front door and entrance hallway to balconies, patios, and any small garden areas that were part of your tenancy agreement.
Why It's a Non-Negotiable Task
Property managers and landlords give significant weight to the property's kerb appeal. A neglected entrance with cobwebs, a dirty door, or an unkempt patio can immediately signal a lack of care, prompting a more forensic inspection of the interior. In the UK, a well-presented entrance is considered a fundamental part of a professional clean. Failing to address these areas is a common reason for deposit deductions, as it shows the tenant hasn't completed a full and thorough clean.
Actionable Outdoor and Entrance Cleaning Checklist
To ensure your property makes a stellar first impression, follow this detailed guide:
- Door and Entranceway: Start by wiping down the front door on both sides, removing any scuffs or dirt. Polish the letterbox, handle, and any house numbers until they are gleaming. Hoover and mop the entrance hallway or porch floor thoroughly.
- Balconies and Patios: Sweep away all leaves, dirt, and debris. For stubborn dirt or algae on stone or decking, a stiff-bristled brush with a suitable cleaning solution is effective. A gentle power wash can be used, but check your tenancy agreement first to avoid causing damage.
- Windows and Fixtures: Clean the exterior of accessible windows and wipe down the frames and sills. Don't forget to dust and clean outdoor light fixtures, checking that the bulbs are working.
- Tidying and Rubbish Removal: Remove all personal items, plant pots (unless they belong to the property), and rubbish. If you have accumulated waste, ensure it is disposed of correctly. For larger clear-outs, using a professional house clearance and rubbish removal service can ensure the property is left completely clear.
- Garden Maintenance: If your tenancy included garden maintenance, give the lawn a final mow, de-weed any flowerbeds, and ensure any pathways are clear and tidy.
10-Item End-of-Tenancy Cleaning Checklist Comparison
| Service | 🔄 Implementation complexity | ⚡ Resource requirements | ⭐ Expected outcomes | 📊 Ideal use cases | 💡 Tips |
|---|---|---|---|---|---|
| Kitchen Deep Clean | High — intensive degreasing and appliance care 🔄 | Specialized degreasers, steamers, 4–6 hrs; possible rental ⚡ | Excellent — like-new appearance, strong deposit impact ⭐⭐⭐⭐ | End-of-tenancy, landlord inspections, heavily used kitchens 📊 | 💡 Soak oven racks; use commercial degreasers; protect finishes |
| Bathroom Sanitization and Grout Cleaning | Medium‑High — grout and mold remediation 🔄 | Oxygen bleach, brushes, gloves, ventilation, 2–4 hrs ⚡ | High — improved hygiene and reduced mold risk ⭐⭐⭐⭐ | Mold-prone bathrooms, pre-checkout inspections 📊 | 💡 Use oxygen‑based bleach; ventilate; let cleaner dwell |
| Window and Glass Cleaning | Low‑Medium — technique matters for streak-free finish 🔄 | Squeegee, microfiber, distilled water; weather-dependent ⚡ | High visual impact — brighter, cleaner appearance ⭐⭐⭐ | Quick visual upgrades, inspections, increase natural light 📊 | 💡 Clean top-to-bottom; use squeegee & distilled water |
| Carpet and Flooring Cleaning | High — equipment-intensive, method varies by floor 🔄 | Steam extractor/hot water, stain treatments, drying time; costly ⚡ | High — removes deep dirt, allergens; documented cleaning ⭐⭐⭐⭐ | Pet stains, pre-handover, allergy concerns 📊 | 💡 Hire IICRC-certified pros; obtain cleaning certificate |
| Wall and Paintwork Cleaning & Touch‑ups | Low‑Medium — careful cleaning and small paint repairs 🔄 | Magic eraser, matching touch-up paint, cloths ⚡ | Moderate‑High — reduces paint deductions, improves aesthetics ⭐⭐⭐ | Minor scuffs, paint chip repairs before checkout 📊 | 💡 Get exact paint code; photograph before/after |
| Light Fixtures and Ceiling Cleaning | Low‑Medium — working at height, dust removal 🔄 | Ladder, microfiber, dust mask; short time per room ⚡ | Moderate — noticeable freshness, improved air perception ⭐⭐ | Quick pre-inspection checks, removal of cobwebs 📊 | 💡 Use a spotter on ladders; clean systematically |
| Door and Door Frame Cleaning | Low — straightforward but material-specific 🔄 | Appropriate cleaners, polish, cloths; quick ⚡ | Moderate‑High — strong first-impression benefit ⭐⭐⭐ | Entrance presentation, walkthrough prep 📊 | 💡 Use correct cleaner for material; polish hardware |
| Appliance Deep Clean & Residue Removal | Medium‑High — multiple appliance procedures 🔄 | Appliance-specific cleaners, brushes, inspection tools; time ⚡ | High — removes residues, prevents odors and hygiene issues ⭐⭐⭐⭐ | End-of-tenancy, persistent appliance odors/mold 📊 | 💡 Run empty cleaning cycles; clean filters & vents |
| Baseboards and Trim Cleaning | Low — repetitive attention to detail 🔄 | Microfiber, magic eraser, paint pen; room-by-room time ⚡ | Moderate‑High — improves perceived cleanliness ⭐⭐⭐ | Final inspection touches, high-traffic rooms 📊 | 💡 Work room-by-room; keep a paint pen nearby |
| Outdoor and Entrance Area Cleaning | Medium — weather-dependent; may need power washer 🔄 | Power washer (rental), broom, hose, outdoor cleaners ⚡ | High — strong curb appeal and first-impression impact ⭐⭐⭐⭐ | Front entrance, patios/balconies before handover 📊 | 💡 Power wash appropriately; clear debris & polish handles |
Your Next Step: A Stress-Free Move and a Guaranteed Clean
You've now navigated the ultimate room-by-room, professional-grade end of tenancy cleaning checklist. From the greasy residues in the oven to the often-overlooked dust on skirting boards and door frames, you are armed with the knowledge to reclaim your living space to a standard that will impress any landlord or letting agent. This isn't just about cleaning; it's about methodically restoring a property and, most importantly, securing the full return of your security deposit.
The journey from a lived-in house to a pristine, move-out ready property is a significant undertaking. The true value of this checklist lies not just in the individual tasks but in its comprehensive nature. It transforms a chaotic, overwhelming job into a structured, manageable project. By breaking down the process into detailed steps for the kitchen, bathroom, living areas, and even the often-forgotten outdoor spaces, you eliminate the guesswork and minimise the risk of costly oversights.
Key Takeaways for Deposit Success
Remember, the goal is to leave the property in the same, if not better, condition than when you moved in, accounting for fair wear and tear. Here are the most critical takeaways to carry forward:
- Documentation is Your Defence: Your signed inventory from the start of your tenancy is your most powerful tool. Use it alongside our checklist to ensure you address every specific point your landlord will be inspecting. Take detailed, well-lit photos and videos of every cleaned room and appliance as undeniable proof of your hard work.
- Time Management is Crucial: Underestimating the time required is the most common pitfall. A proper end of tenancy clean is not a one-day job. Refer to the time estimates in our guide, create a schedule, and ideally, perform the clean after all your belongings have been moved out to ensure no corner is missed.
- The Details Define the Outcome: Landlords and inspectors are trained to look for the small things. Limescale on taps, dust inside light fittings, grime in window tracks, and residue on extractor fan filters are the details that separate a passable clean from an exceptional one that guarantees your deposit back without dispute.
Your Path Forward: DIY Dedication vs. Professional Perfection
You stand at a crossroads with two clear paths. The DIY route, armed with our extensive end of tenancy cleaning checklist, can be incredibly rewarding and cost-effective if you have the time, energy, and attention to detail required. It puts you in complete control and provides a deep sense of accomplishment.
However, the reality of moving is often a whirlwind of logistics, packing, and administrative tasks, leaving little room for a deep clean of this magnitude. This is where professional help transitions from a luxury to a pragmatic, stress-saving investment. Professional cleaners bring specialised equipment, industry-grade products, and the experience to execute the clean efficiently and to a standard that letting agencies demand. Many, like us, even provide a certificate of professional cleaning, which can be a powerful asset in any potential deposit dispute.
Ultimately, the choice depends on your personal circumstances. But whether you choose to roll up your sleeves or call in the experts, the objective remains the same: to close this chapter of your life smoothly, stress-free, and with your full deposit back in your bank account, ready for your next adventure.
Ready to make your move completely seamless? Let the experts at SimplyPro Removal & Storage Ltd handle the heavy lifting and the deep cleaning. We provide professional end-of-tenancy cleaning services across Bristol and Bath, ensuring you meet your landlord's standards and secure your deposit, all while you focus on settling into your new home. Contact SimplyPro Removal & Storage Ltd today for a no-obligation quote and a stress-free moving experience.