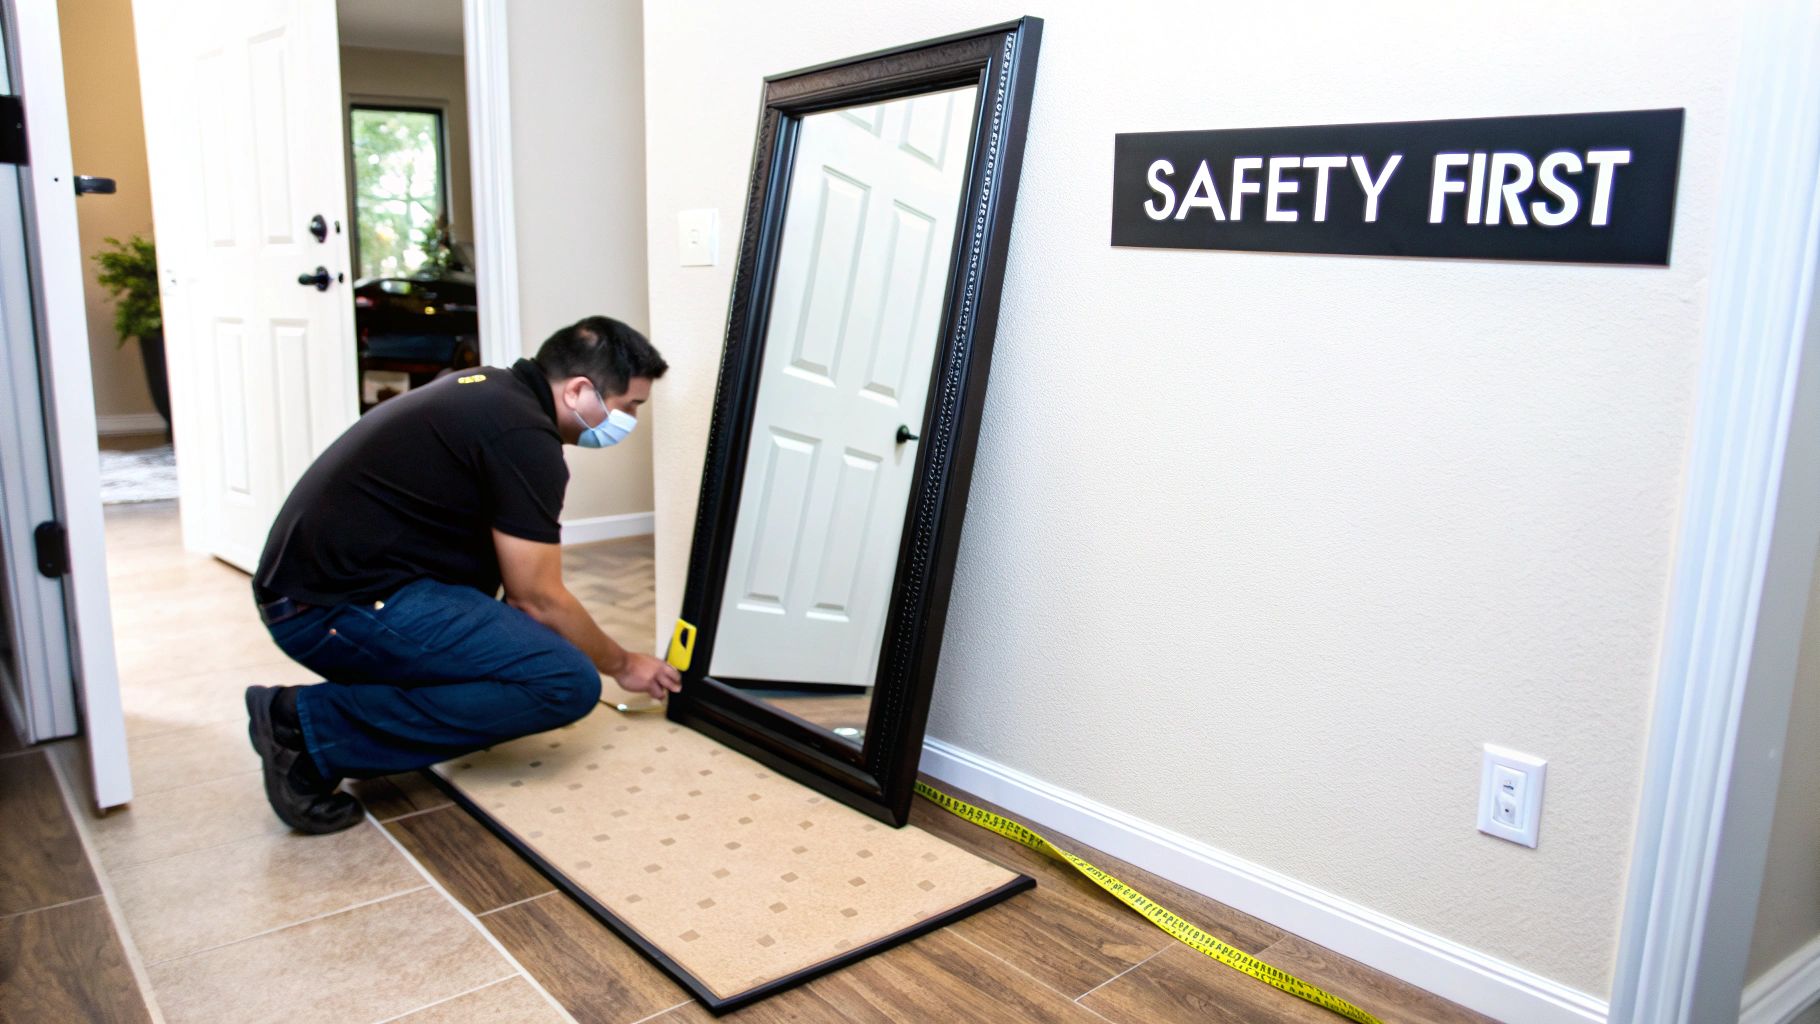
Before you even think about picking up a drill, there are a couple of crucial checks you absolutely must do. Getting these basics right from the start is the difference between a mirror that stays put for years and one that ends up in a pile of glass on the floor.
Your Pre-Installation Safety Checklist
Getting the prep work right is everything. I've seen too many well-intentioned DIY jobs go wrong because these first few steps were rushed or skipped entirely. This isn't just about protecting the mirror; it's about protecting your walls and ensuring everyone's safety.
Let's walk through the non-negotiables for a secure installation. Modern mirrors, especially those with elaborate frames or built-in tech, can be surprisingly heavy, and they demand a lot more respect than a simple picture frame.
First, Find Out Exactly How Much Your Mirror Weighs
The single most important number you need is the mirror's precise weight. Don't guess. This one measurement will dictate the type of wall fixings you buy and how you approach the entire job.
The easiest way to do this is with a standard bathroom scale.
- First, weigh yourself and make a note of the number.
- Next, carefully pick up the mirror, hold it steady, and step back on the scale.
- Subtract your own weight from this new, combined total. That's the weight of your mirror.
If the mirror is too big and awkward to hold safely, a luggage scale is a great alternative. Just hook it onto a strong part of the frame or the hanging wire and lift it just enough to get a clear reading.
My Golden Rule: Always choose wall fixings rated to hold at least double the weight of your mirror. For a 15 kg mirror, that means you need fixings rated for 30 kg or more. This gives you a vital safety margin that accounts for tiny vibrations and ensures it stays put.
Next, Identify Your Wall Type
The second piece of the puzzle is figuring out what your wall is made of. In most UK homes, you'll be dealing with either plasterboard or solid masonry, and they require completely different approaches.
-
Plasterboard: Common in modern homes, this is essentially a sheet of plaster sandwiched between paper. Give it a knock – if you hear a hollow, drum-like sound, you've got plasterboard. Hanging anything heavy on plasterboard without the right fixings is asking for trouble.
-
Solid Masonry: Typically found in older houses, these walls are brick, concrete block, or stone. A knock here will sound dull and solid, with no echo. Masonry is incredibly strong but you'll need a good drill to get into it.
The "knock test" is your best friend here. A consistent, solid thud across the wall points to masonry. If you hear a hollow sound that changes to a denser thud in certain spots, that's plasterboard fixed to wooden studs—and finding those studs is the best-case scenario for a secure fixing.
Choosing the Right Fixings for Your Wall
Once you know your mirror's weight and your wall type, you can select the right hardware. This is where many people go wrong, so take a moment to match the fixing to the job. Here’s a quick guide for common UK wall types.
Matching Wall Fixings to UK Wall Types
| Wall Type | Description | Recommended Fixing Type | Typical Safe Load (per fixing) |
|---|---|---|---|
| Plasterboard | Hollow cavity wall, common in modern homes. | Spring Toggles, Heavy-Duty Hollow Wall Anchors | 10-25 kg |
| Plasterboard (Stud) | Fixing directly into the vertical wooden studs. | Heavy-Duty Wood Screws | 25-50 kg |
| Brick/Blockwork | Solid masonry, found in most external and internal load-bearing walls. | Heavy-Duty Wall Plugs & Screws, Masonry Bolts | 30-60 kg |
| Lath and Plaster | Found in older homes; plaster over thin wooden strips (laths). | Specialist Long Screws (into studs), Toggle Bolts | Varies greatly; aim for studs. |
Always check the manufacturer's packaging for specific weight ratings, as they can vary between brands. When in doubt, go for the stronger option.
Why Heavy Mirrors Are a Modern Challenge
The trend for massive, statement mirrors has really changed the game. It's no surprise that recent data shows over 60% of UK home renovations now feature large decorative items like heavy mirrors. But what's worrying is that improper hanging is linked to nearly 15% of domestic accidents involving falling objects.
This just goes to show why the old "picture hook and nail" method is completely outdated for anything over 10 kg. Your mirror is a significant weight, constantly pulling downwards.
If you're preparing for a move, knowing how to handle these bulky items is crucial. You can find more advice in our guide to the best packing materials for moving house to ensure your valuable decor arrives safely.
Selecting the Right Tools and Hardware
Walking into a hardware shop can feel a bit overwhelming, especially when you're staring down an entire aisle of screws, plugs, and mysterious-looking fixings. But trust me, choosing the right gear to hang your heavy mirror is straightforward once you know what you're looking for. With the mirror's weight and your wall type sorted, you can build a toolkit that guarantees a secure, professional-looking job.
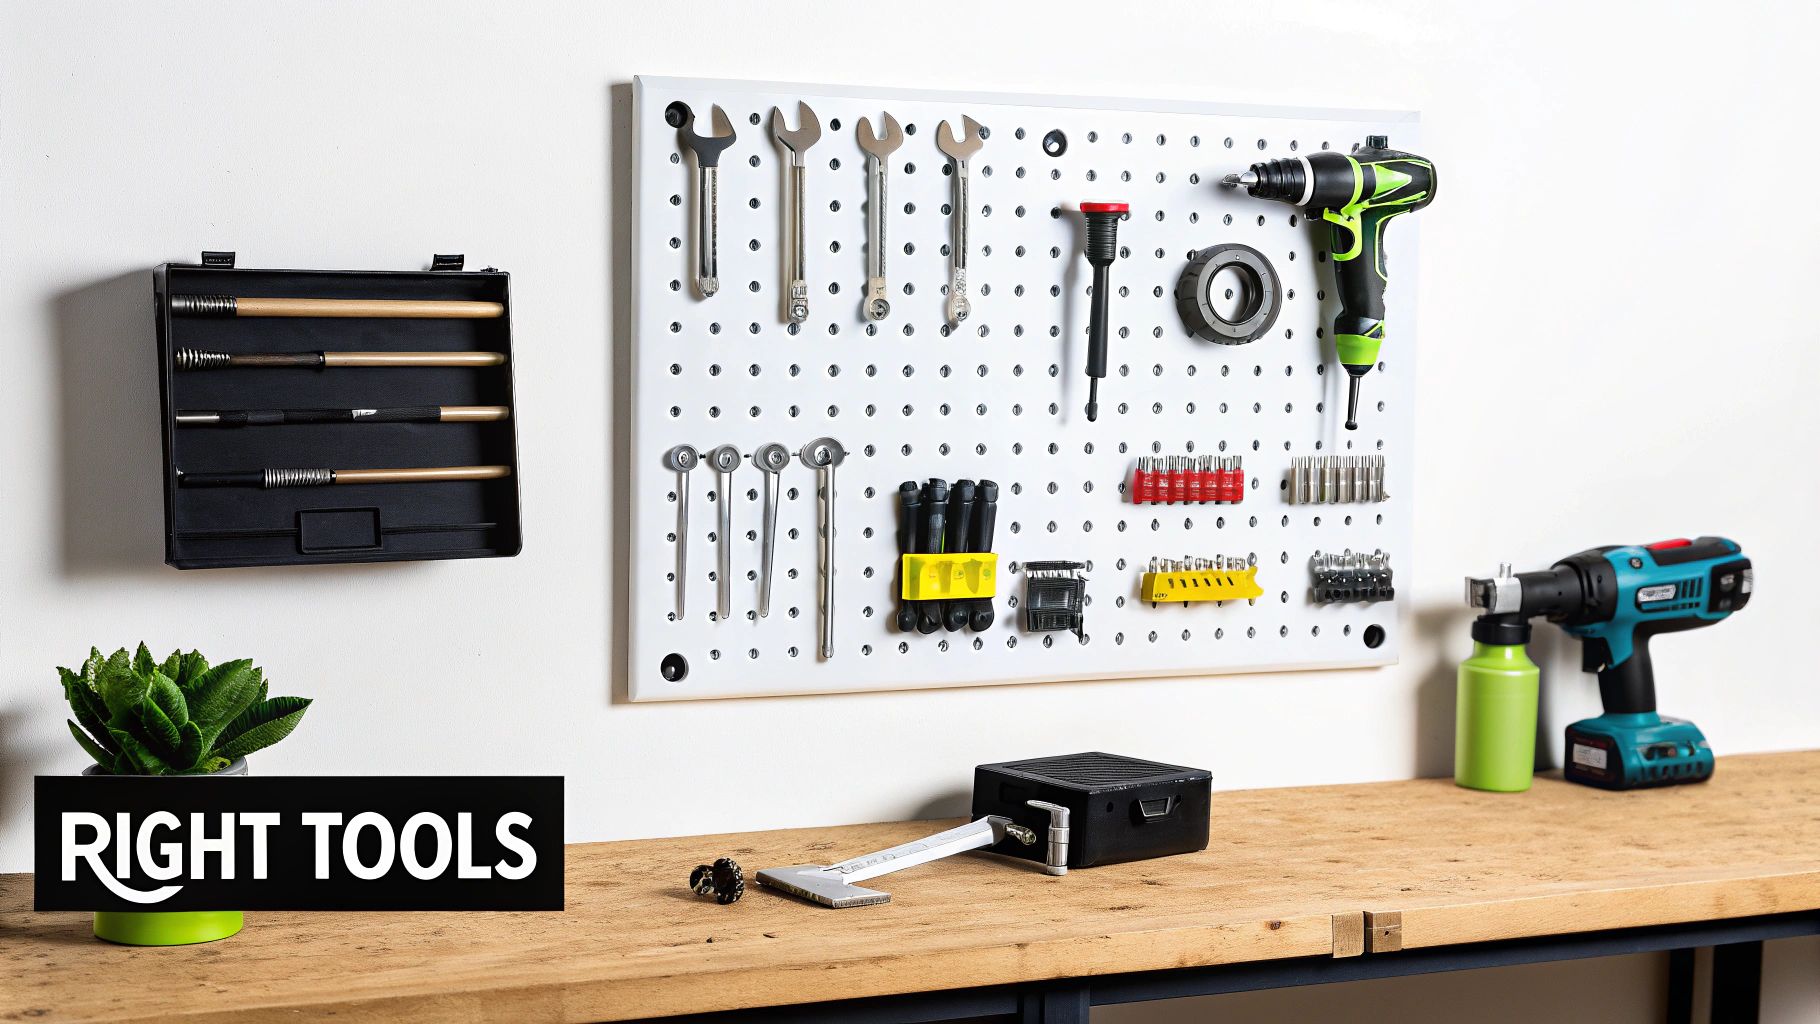
This isn't about buying one of everything. It's about being selective and getting the precise items that will make the job safer, easier, and much more accurate. Let's break down the essentials, from the fixings doing the heavy lifting to the tools that ensure it all ends up perfectly level.
Choosing Your Wall Fixings
This is the single most important decision you'll make. A word of warning: if your mirror came with a little bag of screws and plugs, it's best to ignore them. They're almost never up to the task for a genuinely heavy piece. Always upgrade to a dedicated, high-quality fixing rated for well above your mirror's actual weight.
For Plasterboard Walls
Hollow walls need special anchors that can grip the board from behind, spreading the load so it doesn't just rip through the plaster.
- Toggle Bolts: These are the undisputed champions for heavy items on plasterboard. You drill a hole, fold in the spring-loaded "wing," and push it through. It then pops open flat against the inside of the wall, giving you an incredibly strong anchor point. A good toggle bolt can handle up to 20 kg or more.
- Heavy-Duty Hollow Wall Anchors: These clever metal fixings expand like a concertina behind the board as you tighten the screw. They create a really secure grip and are a reliable choice for mirrors in that 10-20 kg range.
For Masonry Walls
Solid brick or blockwork gives you a much stronger foundation to work with, but you still need the right hardware to tap into that strength.
- Sleeve Anchors: If you're hanging something truly monumental on a solid wall, a sleeve anchor is your best bet. As you tighten the bolt, a metal sleeve expands and grips the inside of the hole with immense force.
- Heavy-Duty Wall Plugs: Don't mistake these for the flimsy little plastic plugs you'd use for a small photo frame. Look for robust, high-quality wall plugs (brands like Rawlplug are a go-to) and pair them with long, thick screws. This combination is more than enough for most heavy mirrors on brick.
A Word on French Cleats: For the heaviest, most ornate, or largest mirrors, a French cleat system is the ultimate solution. It involves two interlocking brackets cut at a 45-degree angle—one mounts to the wall, the other to the mirror. The weight is distributed evenly across the entire length of the cleat, making it the preferred method for professional gallery installations.
Your Essential Toolkit
Beyond the fixings, a few key tools will make the difference between a frustrating afternoon and a precise, hassle-free installation. Get these ready before you start, and you'll save yourself from any mid-job panic.
- A Reliable Stud Finder: This is non-negotiable for plasterboard walls. Hitting a wooden stud is always the gold standard for security, and a decent electronic stud finder stops you from turning your wall into Swiss cheese with test holes.
- Spirit Level (or Laser Level): A classic spirit level is essential for getting your marks perfectly horizontal. For larger mirrors, I honestly can't recommend a laser level enough. It throws a perfect line across the wall, making it foolproof to align multiple fixing points without any guesswork.
- Power Drill and Drill Bits: You’ll need a set of wood drill bits if you're going into studs and a tough set of masonry bits for brick or block. Double-check you have the exact size bit required for your chosen wall anchors—it's usually printed right on the packaging.
- Tape Measure and Pencil: Obvious, but crucial! A good quality, non-stretchy tape measure is a must for accurate measurements.
- Painter's Tape: Here’s a pro tip I swear by. Before drilling into brick or plaster, stick a folded piece of painter's tape to the wall just below your mark. It creates a little pouch that catches the vast majority of the dust, saving you a big clean-up job later.
With the right fixings selected and these tools laid out, you've already turned a daunting task into a methodical process. This careful preparation is what ensures your beautiful mirror becomes a secure and lasting feature in your home.
How to Measure and Mark Your Wall Accurately
Getting your measurements wrong is one of the most frustrating, and common, mistakes you can make when hanging a heavy mirror. Even being a few millimetres off can leave you with a crooked finish that’ll annoy you every time you walk past it. Worse still, you’ll have a bunch of unnecessary holes to patch up. Taking your time here is what really makes the difference between a job that looks DIY and one that looks truly professional.
Before you even think about making a mark, you need to decide exactly where the mirror will live. This is about more than just finding the centre of a wall; it’s about how the mirror fits into the room as a whole.
Finding the Perfect Height and Position
There's a standard rule of thumb in interior design: hang artwork so its centre is at eye level, which is roughly 145-152 cm (57-60 inches) from the floor. This is a solid starting point, but don't treat it as gospel. The room’s purpose and the furniture in it should really be your guide.
For instance, if you’re hanging the mirror above a console table in the hallway, you’ll want to leave a nice gap of about 15-20 cm (6-8 inches) between the tabletop and the bottom of the mirror frame. This just creates a more balanced, intentional look. Over a fireplace mantel, however, you might go a bit higher to create a grander focal point.
The Two-Person Trick: This is a step I never skip. Before you commit, grab a friend or family member. Get them to hold the mirror flat against the wall while you stand back and look at it from different spots in the room. It’s a simple visualisation trick that tells you so much more than a tape measure ever could about how the mirror will reflect light and work with the space.
Once you’re happy with the spot, it’s time to move on to the really critical part: getting the measurements from the back of the mirror onto the wall.
Transferring Mirror Fixings to the Wall
This is where absolute accuracy is paramount. A classic mistake is to just measure the distance between the two hanging points on the mirror's back. You also have to measure the distance from those points down to the top of the frame, otherwise, your mirror will hang higher or lower than you intended.
Here's a straightforward method that has never let me down:
- First, lay the mirror face down on something soft – a blanket or a rug works perfectly to stop any scratches.
- Next, carefully measure the distance between the centre of the two D-rings or keyhole slots. Be precise. Let's say for this example, it's 70 cm.
- Now, measure the 'drop' – that’s the distance from the very top of the mirror frame down to the top of each D-ring. Let's imagine this is 10 cm.
With these two numbers, you're ready to mark up the wall.
Marking the Wall with Precision
With your measurements in hand, it’s time to make your marks. A spirit level is non-negotiable here. For bigger mirrors, I’d even recommend a laser level as it completely removes the guesswork and potential for human error.
Start by marking the height where you want the top of your mirror to sit. Using the numbers from our example:
- Let’s say you decided the top of the mirror should be at 180 cm from the floor.
- You need to subtract the 10 cm drop from the D-rings. This means your actual fixing points will be at 170 cm from the floor.
Use your spirit level to draw a faint, perfectly horizontal pencil line on the wall at that 170 cm height. This is your guide.
Now, find the horizontal centre of where the mirror will go and make a small mark on your new pencil line. Since our D-rings were 70 cm apart, you just need to measure 35 cm out from that centre mark to the left, and 35 cm out to the right. Make a final, clear mark at each of these two spots.
These two marks are exactly where you need to drill. Before you do, just double-check everything. Is your guide line truly level? Is the distance between your two drill marks exactly the same as the distance between the D-rings? An extra minute spent checking now will save you a world of pain later.
The Safe and Secure Installation Process
With your careful measuring and marking done, it’s time for the satisfying part: getting that mirror on the wall. This is where all that prep work really pays off, turning those pencil marks into solid anchor points that will keep your mirror safe for years. If you approach this stage methodically, you’ll find it’s more about precision than brute force.
Before you pick up the drill, give your marked spots one last sweep with the stud finder. It's a two-second check that can save you a world of hassle by confirming you’re not about to hit an unexpected bit of timber or, worse, a pipe.
Drilling and Installing Your Fixings
The secret to a clean, strong anchor point is the pilot hole. It guides your main fixing in straight and stops the surrounding wall from getting damaged—especially important with plasterboard, which can easily crumble under pressure.
Always, and I mean always, match your drill bit to the size specified on your anchor's packaging. A hole that's too small is a recipe for frustration, while one that's too big means the anchor won't grip, making it completely useless.
This is the simple but critical sequence you're following: visualise, mark, and level.

Once your pilot holes are ready, getting the anchors in is straightforward:
- For Masonry: Gently tap the heavy-duty wall plug into the hole with a hammer. You want it to sit perfectly flush with the wall surface, no deeper and no prouder.
- For Plasterboard: If you're using a toggle bolt, pinch the spring-loaded wings together, push them through the hole, and listen for a satisfying 'snap' as they open up on the other side. Tug the screw back towards you to feel the wings flatten against the inner wall before you tighten it up.
With the anchor securely in place, drive in your screw. Leave it sticking out just enough to hang your mirror on—about 1 cm is usually perfect.
Safety First: When drilling, particularly into brick or concrete, always wear safety goggles. Dust and debris can fly out unexpectedly, and you only get one pair of eyes. It’s a simple precaution that every professional takes seriously.
The Final Lift and Safety Checks
This is not a solo mission. Never, ever try to lift and hang a heavy mirror by yourself. The risk of dropping it, hurting yourself, or taking a chunk out of the wall is just too high. Grab a friend and have one person on each side to lift it carefully.
One of you should guide the mirror towards the wall, lining up the D-rings or hanging wire with the screws you’ve just installed. The other person should act as the spotter, with a clear view of the fixings to help guide the mirror down onto them.
Once the mirror is resting on the screws, don't let go straight away. Gently press down on the top of the frame to make sure the full weight is settled securely on the fixings. Then, pop your spirit level back on top for one final check that it’s perfectly straight.
If it's a fraction off, you can often nudge one side up or down slightly. This is much easier with a wire-hung mirror. If it's on D-rings and still isn't level, you might have to slightly adjust one of the screws.
Troubleshooting Common Installation Snags
Even with the best prep, things can go sideways. Don't panic; most little hitches have a simple fix.
- The Anchor Spins: If the anchor just spins in the hole when you try to tighten the screw, it’s a classic sign your pilot hole is too big. The only real solution is to take it out and use the next size up of both anchor and screw.
- Drill Hits Something Hard: In a plasterboard wall, this is probably good news—you've hit a stud! Forget the anchor, switch to a strong wood screw and drive it straight into the timber for a rock-solid fixing.
- Mirror Isn't Flush: Does the mirror tilt away from the wall at the bottom? An easy fix is to stick a couple of small felt furniture pads on the bottom back corners. This will even it out nicely and protect your wall from scuffs.
If you run into a bigger problem or just feel out of your depth, there's no shame in calling in an expert. Professional handyman services, especially those experienced with furniture fitting in Bristol, will have the right tools and know-how to solve the problem quickly and safely.
Special Considerations for Smart Mirrors
Mirrors aren't just for checking your reflection anymore; they’ve evolved into sophisticated pieces of home technology. The growing popularity of smart mirrors – those with built-in LED lighting, anti-fog pads, Bluetooth speakers, and even interactive screens – introduces a few new wrinkles to the installation process. Hanging a heavy mirror is one thing, but getting one of these tech-packed units on the wall requires some extra forethought.
All that integrated tech—the wiring, speakers, and displays—adds up. Smart mirrors are almost always significantly heavier than a standard mirror of the same size. That extra weight, combined with the need for electricity, means you absolutely have to follow the manufacturer's instructions to the letter.
Power Source and Wiring Logistics
The biggest hurdle with a smart mirror is figuring out how to power it. You can't just pick a spot on the wall and hope for the best. You need to plan how you'll get electricity to the unit without having a tangle of ugly cables ruining the look.
-
Using an Existing Socket: The simplest route is to hang the mirror near an existing plug socket. The downside? You'll likely have a visible power cord, which might not work if you're aiming for a sleek, minimalist design.
-
Installing a New Power Source: For a truly professional, built-in finish, the best option is to have an electrician install a new, recessed outlet directly behind the mirror's location. This hides all the wiring and makes the mirror look like it's floating seamlessly on the wall.
If you do go with an existing socket, you can always neaten things up by running the cable through a slim, paintable trunking system to help it blend into the wall.
A Word of Caution: Unless you are a qualified electrician, never try to hardwire a mirror or alter your home's wiring yourself. The cost of hiring a pro is a small price to pay for safety and peace of mind.
Stick to the Manufacturer's Guidelines
With a regular mirror, you have some flexibility in choosing your fixings. That's not the case with smart mirrors. They almost always come with their own specific, and often proprietary, mounting brackets. These aren't just suggestions; they've been engineered to handle the unique weight and internal structure of that exact model.
Don't be tempted to swap them out for your own hardware. The supplied brackets are designed to attach to reinforced points on the mirror's frame, distributing the load correctly. Using the wrong fixings could cause stress fractures or, in a worst-case scenario, lead to the entire unit crashing down.
The UK smart mirror market is booming, expected to jump from USD 49.8 million in 2022 to over USD 103.1 million by 2030. And with a huge 81.73% of these being wall-mounted, it’s clear that homeowners need to get familiar with their unique installation demands. You can read more about the trends in the UK smart mirror market to see just how quickly they're becoming a household staple.
This trend really changes what we think of as a "heavy mirror". A smart mirror is less a piece of décor and more a complex electrical appliance. Give its installation the same respect you would any other fixture in your home. Before you even pick up a drill, sit down and read the manual from front to back.
Before you start, running through a quick checklist can save you a lot of hassle down the line, especially with these more complex installations.
Smart Mirror Installation Checklist
| Consideration | Action Required | Key Tip |
|---|---|---|
| Power Access | Decide between using an existing socket or installing a new, hidden one. | For a clean look, hiring an electrician to fit a recessed outlet behind the mirror is worth the investment. |
| Wi-Fi Signal | Check the signal strength at the mirror's intended location. | A weak signal will cripple smart features like weather updates or app connectivity. Test it with your phone first. |
| Ventilation | Ensure the location isn't in a completely sealed or unventilated space. | Electronics generate heat. Good airflow prevents overheating and prolongs the life of the internal components. |
| Manufacturer's Hardware | Locate and inspect all supplied brackets, screws, and fixings. | Do not substitute your own hardware. The provided kit is specifically designed for the mirror's weight and design. |
| Firmware/App Setup | Check if the mirror requires a companion app or initial software update. | It's much easier to download the app and create an account while you're still planning, not when the mirror is on the wall. |
Taking a few extra minutes to consider these points ensures your high-tech mirror not only looks great but also functions perfectly from the moment it's up.
Knowing When to Hire a Professional
While this guide is designed to give you the confidence to hang a heavy mirror yourself, the smartest DIYers know when to put the tools down. Honestly, sometimes the best decision you can make is to call in an expert. It’s not admitting defeat; it’s about protecting your investment, your walls, and most importantly, your own safety.
There are a few clear signs that a project has moved beyond a simple DIY job. If you're dealing with a mirror that weighs over 45 kg (roughly 100 lbs), is a valuable antique, or needs to be mounted somewhere awkward like a tight stairwell, the risks start to outweigh the potential savings.
When to Make the Call
I always recommend bringing in an expert if you find yourself in one of these situations:
- Questionable Walls: If you tap on the wall and it feels soft, you see it crumbling (which often happens with older lath and plaster), or you just can’t find a solid fixing point no matter what you do, a pro can properly assess what's going on. They have tricks and specialised fixings for these exact problems.
- Extreme Weight: Once a mirror gets as heavy as a small piece of furniture, it's a different ball game. Professionals have the right lifting gear, the experience, and usually an extra pair of hands to manage the weight safely.
- Complex Placements: Trying to hang a huge mirror perfectly centred over a fireplace, on a fragile tiled wall, or in any spot that demands absolute precision is where experience really counts. This is routine work for them.
Professionals offer more than just brute strength. They have liability insurance (a big one!), access to advanced tools you wouldn't own, and they guarantee their work. When you're facing a tricky installation, knowing how to work with professionals for your needs ensures everything goes smoothly. For anyone in the South West, looking up local handyman services in Bristol is a great place to start.
It's no surprise that the UK market for decorative mirrors is on the rise, especially with the boom in home renovations. As people invest in larger, more ornate pieces, getting the installation right has never been more critical. You can see more on the growth of the UK mirror market on industrytoday.co.uk.
Answering Your Heavy Mirror Hanging Questions
Even with the best plan, you'll likely have a few nagging questions before you start drilling. It's completely normal. Let's walk through some of the most common queries I hear, so you can move forward with confidence.
Can I Really Hang a Heavy Mirror on Plasterboard Without a Stud?
Absolutely, as long as you forget about standard screws and little plastic plugs. They just won't cut it. For a heavy mirror on plasterboard, you need a specialised fixing that's designed for the job.
I always recommend heavy-duty toggle bolts or dedicated hollow wall anchors. These clever fixings work by expanding behind the plasterboard, which spreads the mirror's weight over a much larger area. This stops the anchor from simply ripping a hole in your wall. Always, always check the weight rating on the packaging – I suggest choosing one rated for at least double your mirror's weight. It's a simple safety margin that gives you real peace of mind.
How High Should I Hang It?
There’s a classic interior design guideline that works well: hang the mirror so its centre point is at eye level, which for most people is about 152 cm (60 inches) from the floor.
But think of this as a starting point, not a strict rule. If you're placing the mirror above a console table, a sideboard, or a fireplace, the relationship between the two objects is more important. Aim for a gap of about 15-20 cm between the top of the furniture and the bottom of the mirror. This creates a really pleasing, intentional look.
Remember, a large mirror is more than just a reflection; it's a powerful design tool. It can completely change how a room feels, creating a wonderful sense of space and adding real depth in design. Think about what it will reflect. Placing it opposite a window, for instance, is a brilliant way to flood a room with natural light.
Help! I’ve Drilled the Hole Too Big.
First off, don't worry. It happens to everyone. If the hole is just a fraction too loose for your wall plug, sometimes just going up to the next size of plug and screw will solve the problem instantly.
If you've really overdone it and the hole is much too big, the best fix is to patch it up properly. Grab some good quality filler, press it firmly into the hole, and let it cure completely. Once it's rock solid, you can sand it smooth and drill a fresh, perfectly sized pilot hole in the right spot.
If you're looking at a mirror that's particularly heavy, valuable, or just plain awkward, don't hesitate to call in the professionals. The expert team at SimplyPro Removal & Storage Ltd provides handyman and furniture fitting services to get your pieces mounted safely and securely. Find out more about our Bristol-based services and enjoy total peace of mind.