When it comes to packing up your home, there’s one golden rule I’ve learned over the years: start early with a clear plan. The real secret is to map everything out, turning what feels like a mountain of a task into small, manageable steps spread over several weeks. It's the difference between a smooth move and that last-minute chaos we all dread.
This isn't just about throwing things in boxes; it's about packing smart.
Build Your Moving Timeline and Strategy
A stress-free move is no accident—it's the result of thoughtful planning that begins long before the vans arrive. Having a well-structured timeline is what separates a seamless transition from a frantic, last-minute scramble. When you start early, you give yourself breathing room to declutter properly, find the right professional help, and pack methodically without your life grinding to a halt.
Think of it as a project. Breaking it down over several weeks makes it feel so much more achievable.
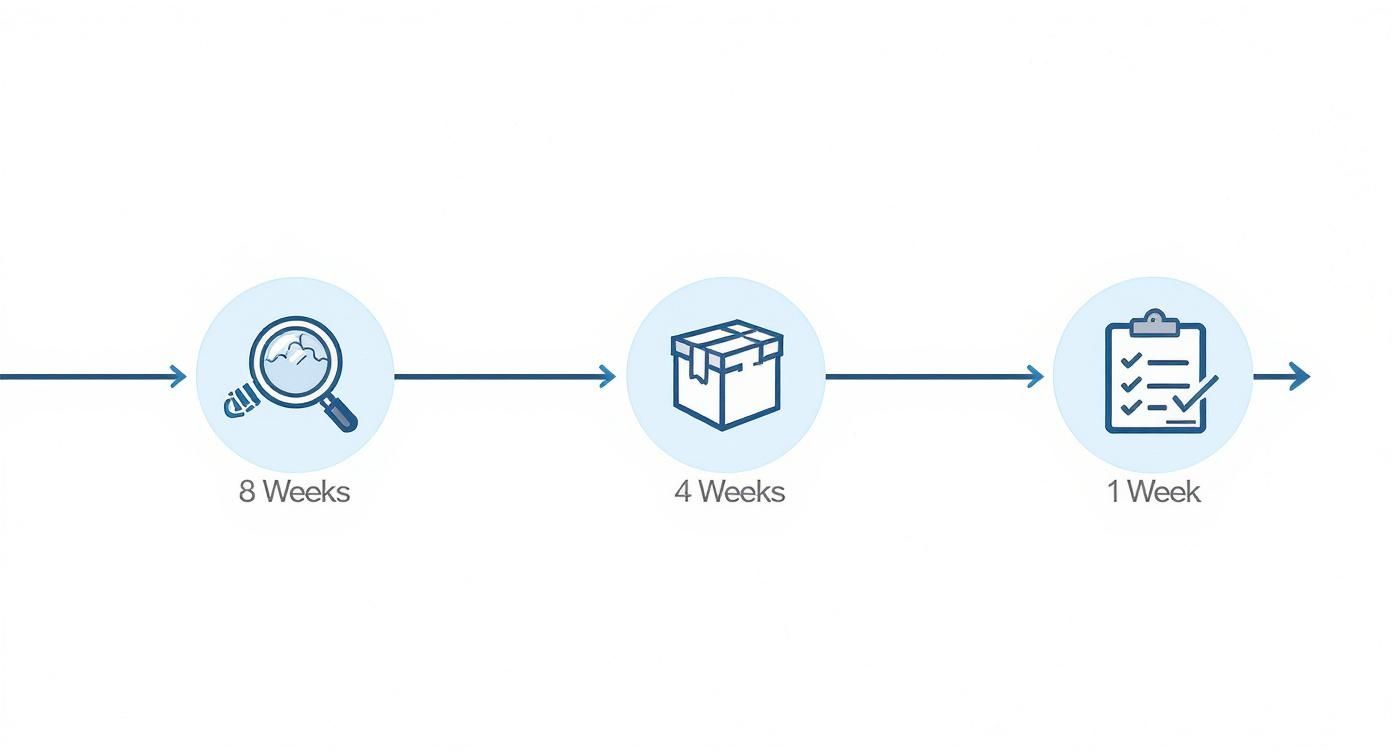
As you can see, it all kicks off with planning and research well in advance. From there, you move into the hands-on packing phase, wrapping up with final checks just before the big day.
Your 8-Week Countdown
An eight-week schedule is the perfect runway for a smooth move. It lets you tackle things bit by bit, starting with items you won’t miss and gradually working toward daily essentials. This simple strategy avoids that classic moving day disaster—rummaging through a dozen boxes just to find the kettle.
The first, and arguably most important, step is to declutter. Go room by room and be ruthless. Decide what you’re keeping, donating, selling, or chucking. This is your golden opportunity to lighten the load, which often means lowering your removal costs.
Focus on things you know you won't need for the next two months:
- Seasonal clothing and hefty winter coats.
- Christmas decorations and other holiday bits.
- Books you’ve already read or (let's be honest) never will.
- Spare linens and anything in the guest room.
- That pasta maker or ice cream machine you use once a year.
Getting this initial clear-out done simplifies everything that follows. It ensures you’re only moving the things you actually need and love into your new home. For a more granular guide, our complete moving house checklist can keep you on the straight and narrow.
To make things even clearer, here’s a quick overview of how those eight weeks can be broken down.
Your 8-Week Packing Timeline At a Glance
This table summarises the key jobs to focus on each week, helping you stay organised and in control as moving day gets closer.
| Timeframe | Key Tasks |
|---|---|
| 8 Weeks Out | Research and get quotes from Bristol/Bath removal companies. Start a major decluttering session. |
| 6-7 Weeks Out | Book your chosen removal firm. Start gathering packing supplies: boxes, tape, bubble wrap. |
| 5 Weeks Out | Begin packing non-essential items: out-of-season clothes, books, decorative pieces, spare bedding. |
| 4 Weeks Out | Pack up lesser-used areas like the loft, garage, or spare rooms. Arrange for storage if needed. |
| 3 Weeks Out | Pack most of your kitchen, leaving only the essentials. Tackle artwork, photos, and most clothing. |
| 2 Weeks Out | Pack remaining non-essentials from every room. Confirm all details with your removal company. |
| 1 Week Out | Pack a ‘first night’ essentials box. Defrost the freezer. Dismantle any large furniture. |
| Moving Day | Final sweep of the house. Guide the movers. Keep important documents with you. |
Sticking to a timeline like this prevents that overwhelming feeling and keeps the process moving forward steadily.
Four to Six Weeks Before Moving Day
With your home now streamlined, it’s time to get the logistics sorted. This is the moment to research and book a reputable removal company, especially if you’re moving in the busy season.
Here in the UK, the demand for movers isn't spread evenly throughout the year. The peak season is definitely between May and August, with June alone accounting for around 60% of all moves. That huge surge means you need to book early to get a good firm at a fair price. It’s also incredibly common to misjudge the scale of a move; about 55% of movers admit they went over budget by an average of £400-£500, usually on last-minute packing supplies they hadn't planned for.
The real lesson here is to be proactive. If you wait until the last month to book movers or buy boxes, especially in summer, you're almost guaranteed to face higher costs and fewer choices.
Once your removal company is confirmed, you can really get stuck into packing those non-essential items you sorted through earlier. Getting all the books, out-of-season clothes, and decorative bits boxed up now will feel like a massive win.
The Final Weeks: DIY vs. Professional Packing
In the last two to three weeks, the pace really picks up. This is when you'll start packing away things you use less frequently but might still need, like your best dinnerware, pictures from the walls, and the bulk of your wardrobe.
It’s also crunch time for deciding how you’ll get it all done. Will you pack everything yourself or call in the professionals?
- DIY Packing: This route gives you total control and is obviously kinder on the wallet. The trade-off is the sheer amount of time and energy it demands. You’ll be responsible for getting all the right materials and making sure your fragile items are properly protected.
- Professional Packing: Hiring a crew to pack for you is a huge time and stress saver. These teams are trained to be incredibly efficient and safe, and the service usually includes all the boxes, paper, and insurance for the items they pack. It’s an extra expense, but for big moves or tight deadlines, it can be a lifesaver.
Many of our clients in Bristol and Bath find a hybrid approach works best. They might pack personal items and clothes themselves but leave the tricky stuff—like the entire kitchen and fragile valuables—to our expert team. Planning ahead gives you the freedom to choose the strategy that fits your budget and schedule perfectly.
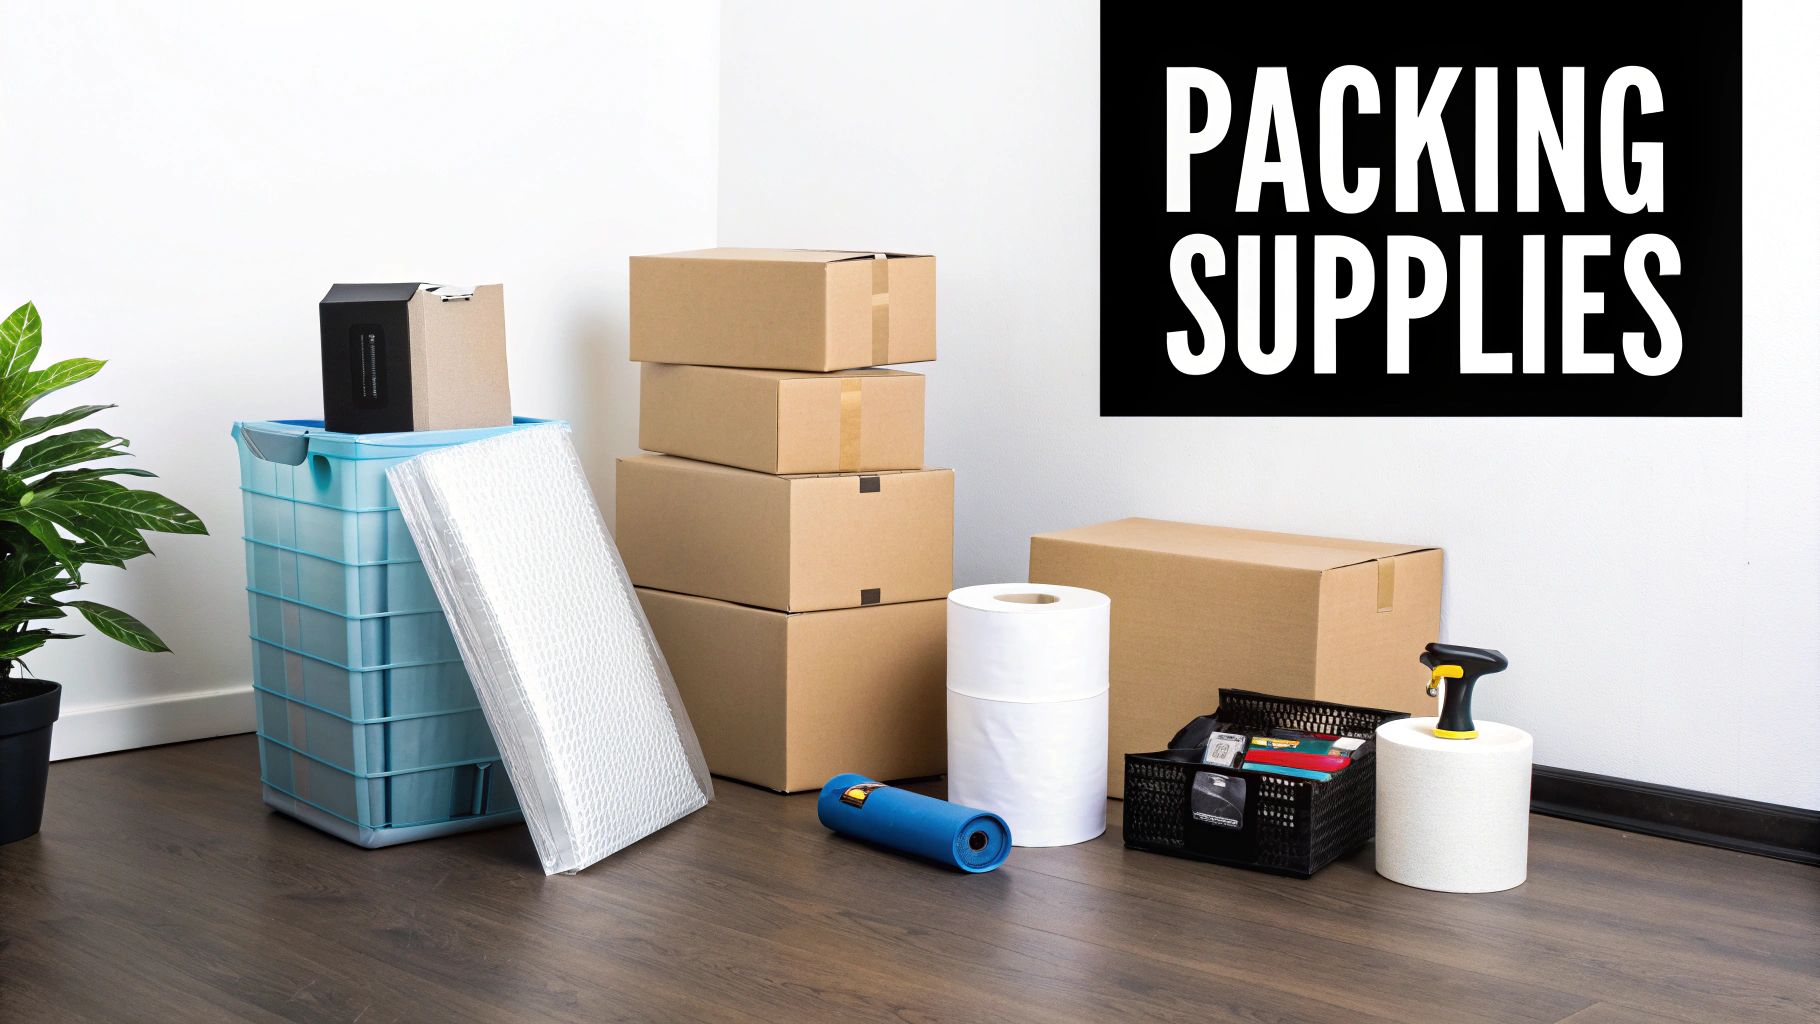
Gather the Right Packing Supplies
Having the right tools for the job is absolutely critical when it comes to packing. I’ve seen it countless times: the difference between a cheap, flimsy box and a proper double-walled one is the difference between your favourite dinner set arriving intact or in a thousand pieces.
Think of quality supplies not as an expense, but as cheap insurance for your belongings. It’s about more than just boxes. You need strong packing tape that actually sticks, plenty of bubble wrap for your delicate items, and clean packing paper to protect your glassware. Cutting corners here is a false economy that almost always ends in tears on unpacking day.
Your Core Packing Kit
Before you even think about taping up a box, get all your materials in one place. Trust me, it’s far better to have a few extra boxes left over than to run out halfway through packing the kitchen.
Here’s your essential shopping list:
- Double-Walled Cardboard Boxes: These are non-negotiable for heavy things like books, files, and kitchenware. They provide superior strength and won't give way when stacked.
- Strong Packing Tape: Don't even think about using standard stationery tape. You need a quality adhesive that will keep the seams sealed tight while the boxes are being lugged about.
- Bubble Wrap & Packing Paper: Use bubble wrap for your most fragile possessions and plain packing paper (unprinted newsprint is great) to fill gaps and stop things rattling around.
- Permanent Markers: Get a few chunky ones for clear, bold labelling. You'll want to write on at least two sides of every box.
For a detailed breakdown of what you might need, have a look at our guide to specialist removal packaging in Bristol. It’s a great resource for figuring out exactly how many boxes and rolls of tape you’ll need for your home.
The Pro-Level Extras
Once you have the essentials sorted, a few extra bits of kit can make the whole process so much easier. These are the things professional packers rely on, and for very good reason.
Consider adding these to your arsenal:
- Stretch Wrap: Invaluable for keeping drawers shut on a chest of drawers or wrapping around upholstered furniture to protect it from dust and scuffs.
- Durable Mattress Covers: A must-have for keeping your mattress clean and safe from rips and dirt during the move.
- A Basic Toolkit: Having a screwdriver, a set of Allen keys, and some pliers on hand will save you a massive headache when you need to quickly dismantle a bed frame or table legs.
The goal isn't just to get things into a box. It's to get them to your new home in the exact same condition they left in. Good quality supplies are your first and best line of defence.
Greener Moving Options
The removals industry is thankfully becoming much more environmentally aware. Here in the UK, many firms are shifting towards sustainable materials to cut down on waste, something that clients are increasingly asking for.
Think reusable plastic crates, biodegradable packing peanuts, and boxes made from recycled cardboard. This is a big deal, as an estimated 30-40% of household waste can come from single-use packing materials during a move. Choosing greener alternatives doesn’t just help the planet; it’s a more modern and responsible way to approach your relocation. When you're getting quotes, it's always worth asking your Bristol or Bath removal company about the eco-friendly options they offer.
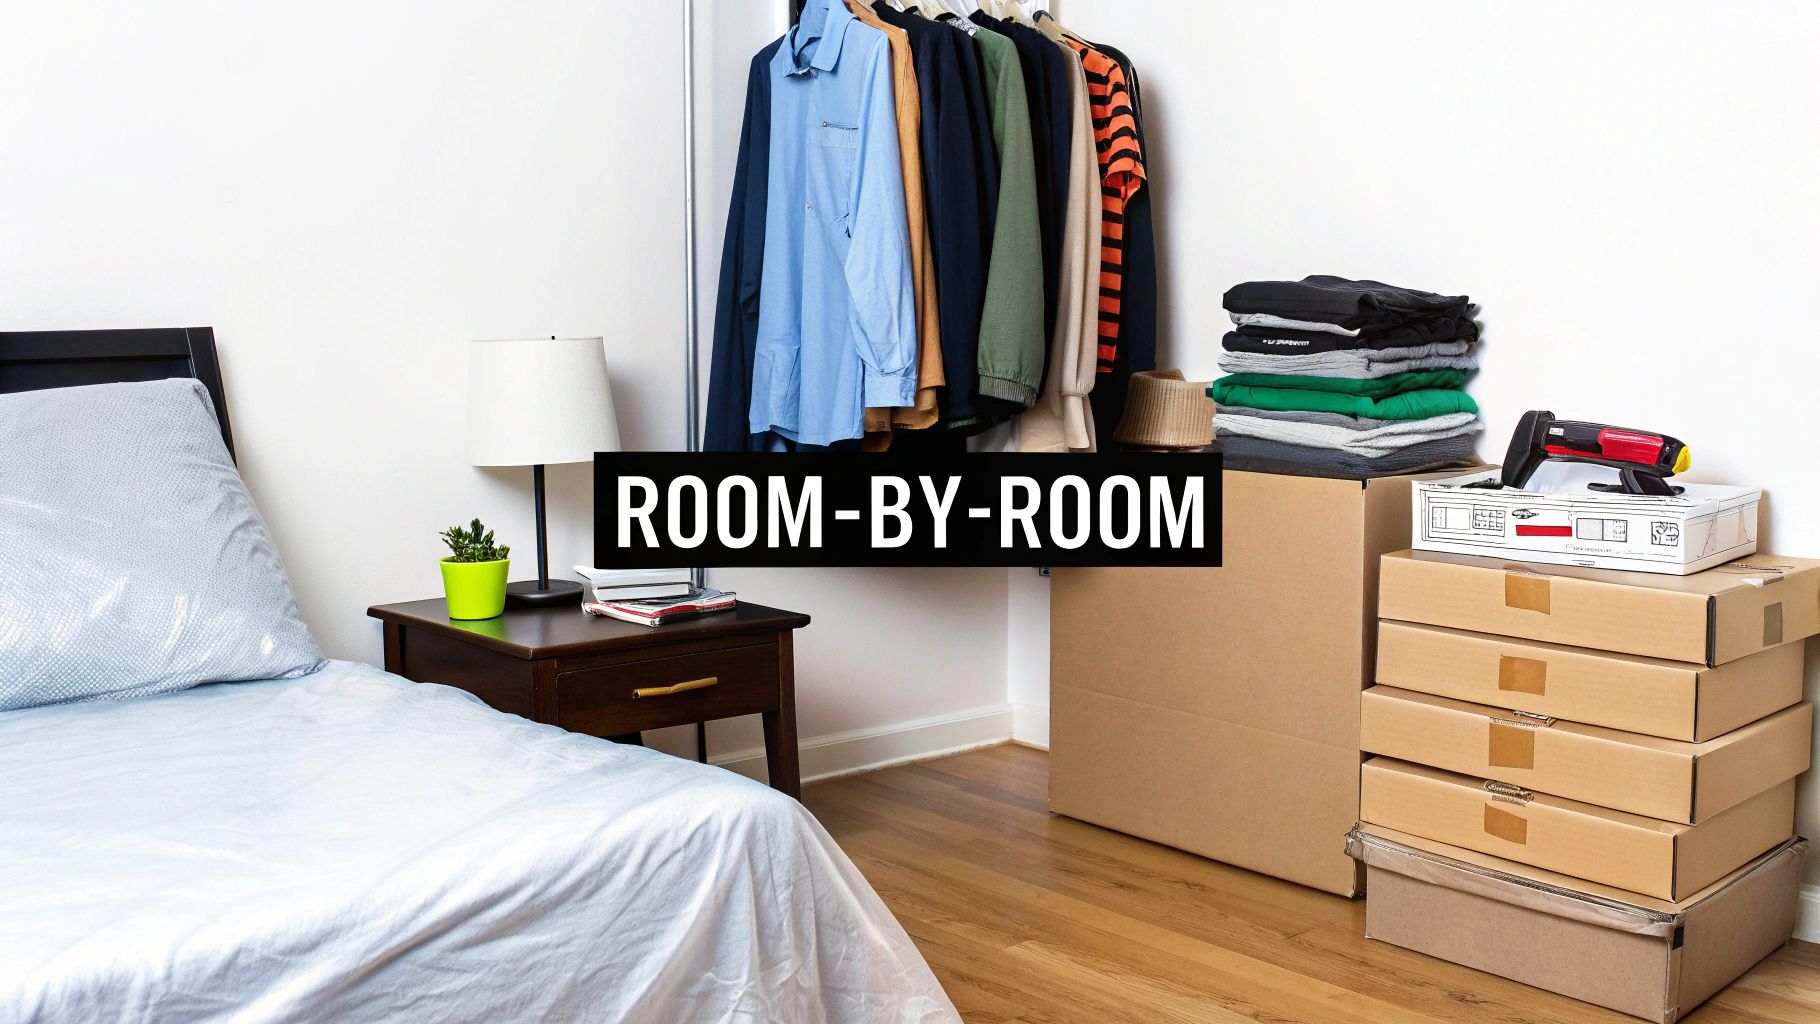
Your Room-by-Room Packing Method
The secret to a smooth pack isn't trying to do everything at once. Looking at your whole house as one giant to-do list is a recipe for overwhelm. Instead, think like a pro: break it down into a series of smaller, more manageable projects. Tackling your home one room at a time is the key to staying organised and in control.
This way, you can focus your energy on one space at a time—the kitchen one day, the master bedroom the next. It’s a systematic approach that prevents that classic moving day chaos where random bits and bobs get thrown into the nearest box, only to cause a major headache when you're trying to unpack. Let’s walk through the best way to handle each part of your home.
Conquering the Kitchen
Let's be honest, the kitchen is usually the most daunting room to pack. It's filled with fragile, heavy, and awkwardly shaped items. My advice? Start here at least a week before the move, leaving out only a 'survival kit' of essentials for the last few days.
A rookie mistake we see all the time is laying plates flat in a box. The professional method is to wrap each plate individually in packing paper and then stack them vertically (on their sides), almost like vinyl records in a crate. This distributes pressure far more effectively and dramatically reduces the risk of breakages.
A little specific care for other items goes a long way, too:
- Glassware: Every glass gets wrapped in packing paper. Don't forget to stuff some crumpled paper inside for extra support before placing them in a box with cardboard dividers.
- Pots and Pans: Nest smaller pots inside the larger ones. Just pop a sheet of packing paper or even a tea towel between each one to stop them from getting scratched up in transit.
- Small Appliances: If you've still got the original boxes for your toaster or blender, use them! They’re custom-made for the job. If not, a sturdy box with plenty of padding will do the trick.
And please, label every single box clearly with its contents and a big 'FRAGILE' note. It's a simple step that tells your removal team exactly which boxes need that extra bit of TLC.
Packing the Living Room and Electronics
The living room is where your expensive electronics and delicate ornaments live. If you have the original packaging for your TV, games console, or sound system, now is the time to dig it out. Nothing protects them better.
No original boxes? No problem. Wrap each piece of kit in bubble wrap and find a snug-fitting, double-walled box. Fill any gaps with soft materials like towels or blankets to prevent anything from sliding around. Here’s a top tip: before you unplug everything, take a quick photo of the cable setup on the back of your TV or computer. Trust me, it will save you a world of pain when you're trying to reconnect it all later.
Artwork and mirrors need special handling.
- First, place a large 'X' of masking tape across the glass. This won't stop it from cracking, but it'll hold the shards together if the worst happens.
- Next, wrap the whole thing in a few layers of bubble wrap. Pay close attention to the corners—use proper cardboard corner protectors if you can get them.
- Ideally, slide the wrapped piece into a specialist picture box for maximum protection.
Packing isn't just about protection; it's about preparation for the other side. A well-packed box is a gift to your future self—it makes unpacking quicker, safer, and infinitely less frustrating.
Systemising Bedrooms and Wardrobes
Bedrooms are generally more straightforward, but a few professional tricks can make a massive difference. If you're going to invest in one thing, make it wardrobe boxes. These are tall boxes with a built-in hanging rail. You can literally lift clothes straight from your wardrobe and hang them inside without even taking them off the hangers. It's a game-changer.
For everything else—folded clothes, shoes, bags—standard boxes are fine. To really get the most out of your space, look into vacuum-sealed bags for bulky items like duvets, pillows, and winter jackets. These can shrink soft goods by up to 75%, which frees up a surprising amount of room in the van.
And don't forget your jewellery! A simple way to stop necklaces from becoming a tangled mess is to thread each one through a drinking straw before packing. For smaller items like earrings, an old pill organiser works wonders.
Handling Bathrooms and Forgotten Spaces
The bathroom, garage, and home office are often the last-minute scramble, but they contain things that need proper thought.
The biggest headache in the bathroom is liquids. To avoid a sticky disaster, unscrew the cap on your shampoo or lotion, place a small square of cling film over the opening, and then screw the cap back on tightly. It’s always best to pack all liquids together in a plastic-lined box, just in case one does decide to leak.
Out in the garage or shed, group heavy tools in small, robust boxes. It's tempting to fill a huge box, but you'll thank yourself later when you can actually lift it. And crucially, make sure you drain all fuel from lawnmowers or any other petrol-powered equipment before moving day.
Finally, the home office. This is where your most important documents live. Gather up all passports, birth certificates, and insurance papers into a single, clearly labelled folder or box. This box travels with you personally, not in the removal van. It ensures you have immediate access to it and eliminates any risk of it going missing. A bit of system and forethought here ensures nothing critical gets overlooked.
Create a Smart Labelling and Inventory System
Knowing what’s inside each box—and, just as importantly, where it should go—is the real secret to a calm, organised unpacking experience. Just scrawling 'Kitchen' on the side with a marker is a start, but a truly effective system goes much deeper. It’s what transforms unpacking from a chaotic guessing game into a methodical, stress-free process.
Think of your labelling system as the GPS for your entire move. A good system ensures boxes land in the correct rooms from the get-go, tells your removal team how to handle them, and helps you find the kettle without tearing into twenty different boxes.
Go Beyond Basic Room Names
A genuinely smart system layers several bits of information on each box. This doesn't need to be complicated; in fact, simplicity and consistency are what make it work.
A great first step is to colour-code each room in your new home. You could use blue stickers for the master bedroom, green for the kitchen, and yellow for the living room. This visual cue is incredibly powerful, allowing you and your movers to see where a box belongs at a glance, even from across a crowded room.
Next, bring in a simple numbering system. As you seal up a box, give it a unique number (e.g., Kitchen Box #1, Kitchen Box #2). This small action is the foundation of a rock-solid inventory.
Create a Master Inventory List
This is where your numbering system really proves its worth. Create a master list, either in a dedicated notebook or a simple spreadsheet, that corresponds to every numbered box. You don’t need to list every single item inside.
Just jot down the general contents for each number. Something like this:
- Box #1 (Kitchen): Everyday plates, bowls, cutlery.
- Box #2 (Kitchen): Small appliances (toaster, kettle).
- Box #3 (Kitchen): Pots and pans. FRAGILE.
- Box #4 (Living Room): Books from main bookshelf. HEAVY.
This master list becomes your ultimate reference guide. If you’re desperate for the TV remote on the first night, a quick scan of your list will tell you it's in Living Room Box #7, saving you a massive headache. To figure out the best approach for you, it's worth exploring the pros and cons of digital vs. traditional name labels.
A detailed inventory list isn't just for your own sanity. If a box ever goes missing or gets damaged in transit, having a clear record of its contents is absolutely invaluable for any potential insurance claims. It’s a small effort that provides huge peace of mind.
Use Clear Handling Instructions
Finally, make sure your labels shout about how each box needs to be treated. Never assume your movers have X-ray vision. Use a thick, dark marker to write clear, unmissable instructions on at least two sides of every box that needs special care.
These are the non-negotiable labels:
- FRAGILE: For anything delicate, from glassware and art to electronics.
- HEAVY: This is a crucial warning to prevent injuries and ensure the box is handled safely.
- THIS WAY UP ↑: Essential for anything containing liquids, plants, or specific electronics.
- OPEN FIRST: Reserve this special label for your survival kit—the box with all your first-night necessities.
Taking the time to set up this system is a true game-changer. It ensures every box gets where it’s going safely, lands in the right spot, and can be unpacked in a logical, prioritised order.
How to Pack Awkward and Valuable Items
Let's be honest, not everything you own will slide neatly into a standard cardboard box. You’ve got the bulky dining table, that huge mirror you love, and maybe even a few family heirlooms that are completely irreplaceable. Figuring out how to move these challenging pieces is one of the biggest hurdles in any move, and getting it right is crucial.
This is where the professionals' techniques really make a difference. It’s all about protecting your most treasured possessions and avoiding that sinking feeling when you unpack a box of broken bits. You have to think beyond just tape and cardboard; it’s about using the right materials and methods for each specific item. A little extra care here is your best insurance policy against moving-day disasters.
Preparing Large Furniture for the Move
Large furniture is a double-edged sword: it’s heavy, and it’s a magnet for scratches, dents, and structural damage. The goal is simple: make every piece as compact and protected as possible before a single muscle is strained.
Your first move should be to disassemble what you can. This nearly always applies to bed frames, dining tables, and any flat-pack furniture you’ve assembled over the years. Keep all the screws, bolts, and Allen keys for each piece together in a labelled sandwich bag, then tape that bag securely to the largest part of the item it belongs to. Trust me, this tiny step will save you a world of pain and frustration when it’s time to rebuild everything.
For solid pieces like a chest of drawers or a Welsh dresser that can't be taken apart, your best friend is stretch wrap.
- First, empty all the drawers. It makes a massive difference to the weight.
- Next, use the stretch wrap to bind the drawers shut so they don’t fly open in transit.
- Finally, cocoon the entire piece in moving blankets, paying close attention to the corners, and secure the blankets with packing tape.
Protecting Fragile and High-Value Possessions
When you’re dealing with fragile items, your packing strategy needs to be meticulous. From experience, mirrors, artwork, and electronics are the most common casualties of a rushed or poorly planned move.
For mirrors and framed pictures, run a large ‘X’ of masking tape across the glass. This won’t magically stop it from cracking under serious impact, but it will hold the shards together if the worst happens, which is a massive safety win. Then, wrap the whole thing in several layers of bubble wrap before sliding it into a specialist picture or mirror box for a snug, secure fit.
Your most valuable and sentimental items deserve the highest level of care. If you have any doubt at all about packing that antique vase or a complex bit of tech, it’s often wiser—and more cost-effective in the long run—to trust professional packers.
Delicate electronics like TVs and computers travel best in their original boxes. If you tossed those years ago, find a sturdy, double-walled box that’s slightly larger than the item. Wrap the device in plenty of bubble wrap, place it inside, and then stuff every single gap with packing paper or soft linens to make sure it can’t shift an inch.
Tackling Specialist and Oversized Items
Some items are so big, heavy, or complicated that they’re in a league of their own. Pianos, for example, are a classic moving-day nightmare without specialist knowledge. They contain thousands of intricate moving parts and can weigh hundreds of kilograms. Trying to move one yourself is a recipe for disaster, risking serious injury and potentially wrecking the instrument for good.
This is a job that absolutely demands experts. You can get a sense of what's involved by reading about professional piano movement in Bristol and why it's a specialised skill. The same logic applies to things like large gym equipment, statues, or sensitive IT server racks. A great tip for these is to take photos at each stage of disassembly—it’s a lifesaver when you’re trying to put it all back together at the other end.
Your Moving and Packing Questions Answered
Even the most organised mover hits a point where a few last-minute questions pop up. It’s completely normal. Knowing the answers to these common queries can make all the difference in those final, hectic weeks.
This is where a little bit of expert advice can save you from some major headaches on the big day. Getting these small details right is what makes for a smooth move, from your final food shop to your first night in the new place.
How Many Boxes Will I Need for My Home?
Estimating your box count is more of an art than a science, but we’ve got some reliable rules of thumb. For a typical three-bedroom house in the UK, you’re usually looking at needing between 80 and 100 boxes of various sizes.
Of course, this isn't a hard-and-fast rule. A minimalist might get by with half that number, while a family with heaps of books, toys, and hobby gear will almost certainly need more. The best strategy? Slightly overestimate. It’s far less stressful than a last-minute dash to the shops.
Here's a general breakdown to get you started:
- 30-40 Medium Boxes: These are your workhorses. They're perfect for heavier items like books, kitchenware, and small appliances.
- 25-35 Large Boxes: Ideal for lighter, bulkier things – think linens, towels, and clothing.
- 5-10 Wardrobe Boxes: An absolute lifesaver for moving hanging clothes. They save you from unpacking a creased, tangled pile at the other end.
A great tip is to ask your removal company if they offer a buy-back scheme for any unused boxes you get from them. We do this for our Bristol customers, and it takes the guesswork out of purchasing.
What Should I Pack in an Essentials Box?
Think of your essentials box as your first-night survival kit. It's arguably the most important box you'll pack, containing everything you'll need for the first 24 hours before you even think about proper unpacking. It’s your moving day carry-on.
The goal is to make your first evening and morning in the new house comfortable and functional. This box should never go in the removal van. Keep it with you in your car so you can get your hands on it the second you arrive.
Label this box clearly on all sides with 'OPEN FIRST' in big, bold letters. When you’re exhausted after a long day, you'll be so grateful you did. It’s a simple trick that eliminates a huge amount of stress.
Here’s what we always recommend including:
- The kettle! Plus tea bags, instant coffee, mugs, and some snacks.
- Basic toiletries and any essential medications for everyone in the family.
- A change of clothes and pyjamas for everyone.
- Phone chargers and a portable power bank.
- A small toolkit with a utility knife to start opening the other boxes.
- Cleaning supplies like paper towels, bin bags, and an all-purpose spray.
- Important documents you might need, like passports and moving paperwork.
When Is the Best Time to Stop Buying Groceries?
The aim here is to move as little food as possible, especially fresh stuff. Start running down your pantry, fridge, and freezer about two weeks before your move. Get creative with your meal planning!
A good rule of thumb is to do your last big shop for perishable groceries about a week before you move. For those final couple of days, lean on the non-perishables you’re taking with you or just budget for a few takeaways. It keeps things simple and stops you from being tempted to cook when you should be focused on final packing tasks.
And don't forget to defrost, clean, and dry your freezer at least 24 hours before moving day. It’s a small job that’s often forgotten, but it prevents any nasty leaks and smells during transit. If you're looking for more general pointers, these essential tips for packing when moving house are a great resource for covering all your bases.
Planning a move in the Bristol or Bath area? Let the experts at SimplyPro Removal & Storage Ltd handle the hard work. From professional packing services to secure storage, we tailor our solutions to make your move stress-free. Get your fast, no-obligation quote today at https://www.simplyremovalsbristol.co.uk.